Meet our new dry creek bed!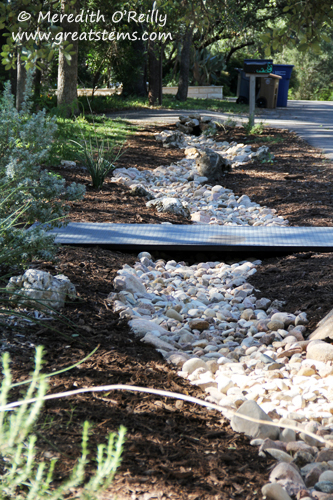 For years, a very functional but unattractive trench in the front yard has protected our house from flooding, as we are slightly downhill from our neighbors across the street and to our left. Water didn’t really flow along this trench; the ditch merely served as a catch spot for excess rainwater (if we ever got rain), until the ground could absorb it all.
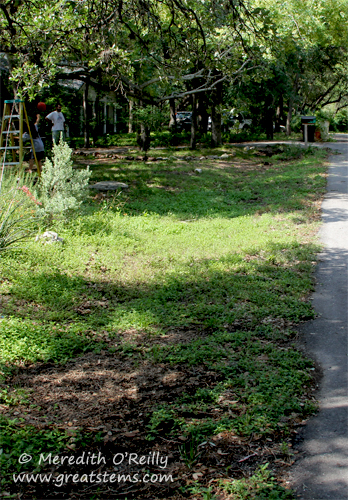 However, this trench hindered gardening and was very boring and ugly to look at. Additionally, it was slowly accumulating dirt from other yards, as well as assorted grasses and weeds, and bit by bit it was filling in. Without a little repair, eventually there might not have been much of a trench to hold the water back. So in order to give this trench both beauty and improved function, I decided to turn it into a dry creek bed.
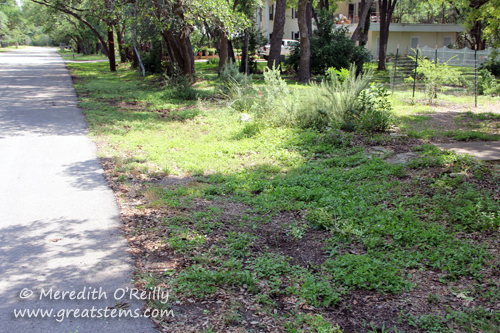
We started this as a family project last May, but the heat of the summer brought a delay. In an effort to speed things up, I finally hired a couple of guys to help me weed and dig the trench, as well as distribute the rocks. Ultimately it was effectively a single-day project, with 3 people working on it. In reality it took part of a second day, but one day really was all that was necessary.
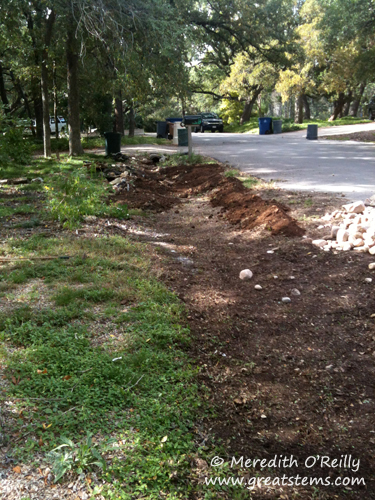 First, we dug out the weeds and cleared the area. Next, I sprinkled flour onto the ground to visually create the desired curves of the future creek bed (a great use, by the way, for leftover wheat-based flour after you’ve gone gluten-free; plus it’s cheap and environmentally friendly). Following the creek “flour,” we dug down 1-2 extra inches, creating a trench more effective than its predecessor. We piled the soil to the side to create the bank sides, and we supplemented the banks with extra soil from a pile I have in the backyard.
It’s important to note that my biggest requirement was that we not change the function of the trench — no decrease of water retention and no increase of water flow. The original trench was designed to catch water, not move it out, and that’s exactly the intent of our new “creek.” While it LOOKS like a creek, it’s still just a retention trench. It slopes to the same low spot it did before, an area that has always created a temporary pond between my neighbor’s yard and mine (we refer to it as “the lake”), and if anything, both the trench and the low spot now will hold more water than before, before it seeps into the ground.
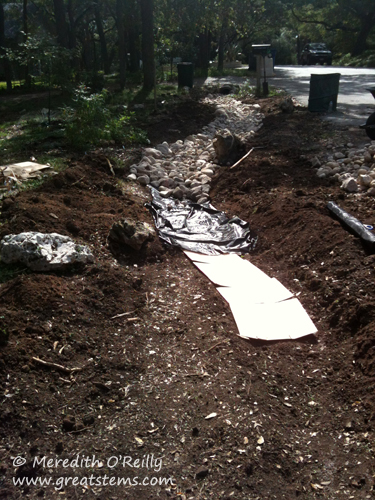 As we went along, I laid down a combination of cardboard, newspaper, and a very light-weight water-penetrating weed barrier, something that will break down easily and will let water seep through. This was the first time I ever, ever, ever considered a non-paper weed barrier, and it was only because I needed the creek to resist weeds for a longer time than the cardboard and newspaper, which decompose quickly with moisture, would provide. I am, for the record, not a fan of plastic weed barriers. This super-thin one was selected because it would easily fall apart. Otherwise, I would have only used the cardboard and newspaper. Don’t ask me the brand I used — the wrapper disappeared sometime last May when we first started this project. Also, I cut the weed barrier into small 3’x3′ sections — this means that if I ever have to remove any part of it, it will be easy to do so.
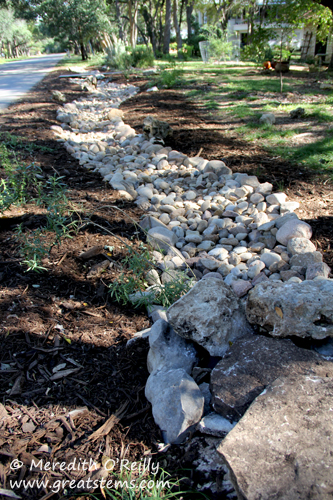 From there, it was just a matter of placing the rocks. I selected rocks from an area fairly close to home — Llano. The rocks range in size from 2″ to 10″ — the smaller ones are in the center of the creek, while the larger ones line the edges. I wanted larger rock rather than tiny stuff that would become a maintenance nightmare. Have you seen how many people want others to come and scrape out and remove their tiny rock and gravel that’s become filled with dirt and leaves? No, thank you.
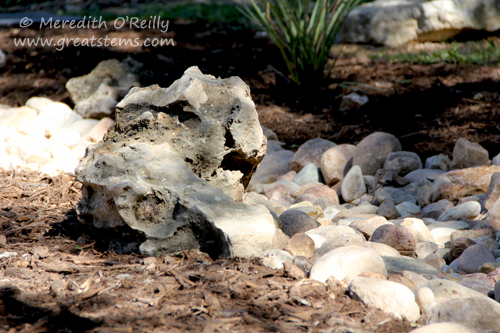 From the backyard, we pulled a few limestone boulders to place here and there. We placed these as we were still moving soil around so they’d be held in place, good and solid.
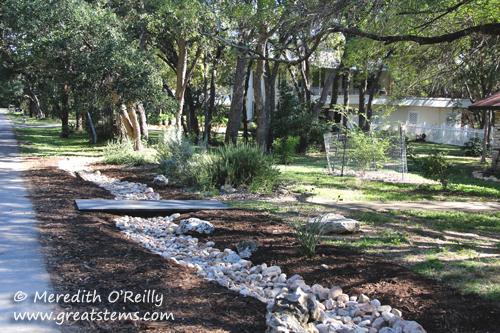
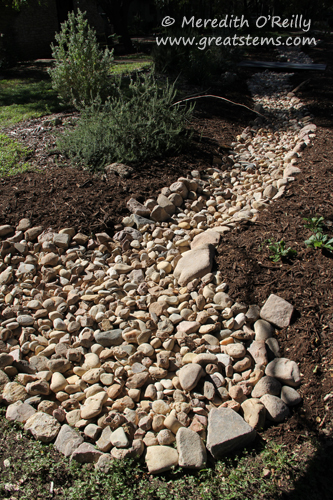
Here’s that low spot I mentioned, the area that becomes “the lake” during a heavy rain. We dug this area down deeper, as well, just by an inch or two. It will hold even more water than before.
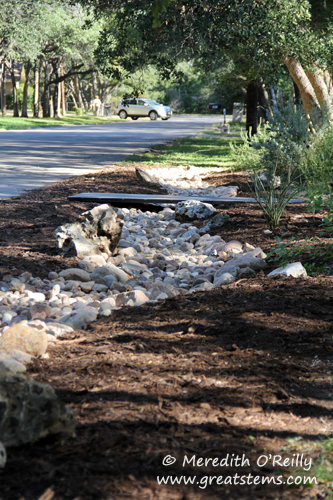
Finally, I brought in a little mulch to cover the dirt. Now I just need to go buy some plants to help hold the soil and mulch in place — and, of course, to beautify the creek even more!
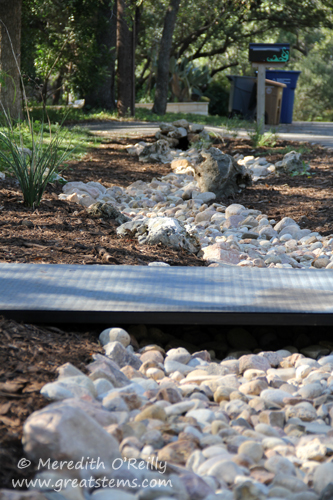
My friend Bob Pool, who turned my little tree gate design into reality, made us a simple metal bridge to allow visitors to cross the creek easily. My requirements were just that I wanted it to be flat and to be something that could be allowed to rust naturally — the color would then fit well with the house and gate.
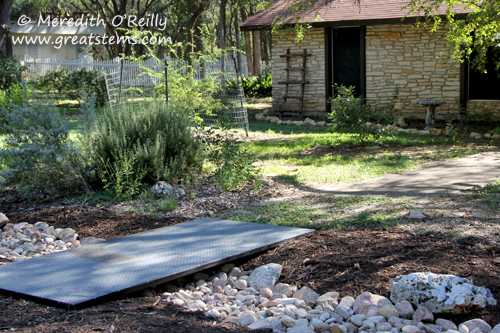
Here’s how it might eventually look: 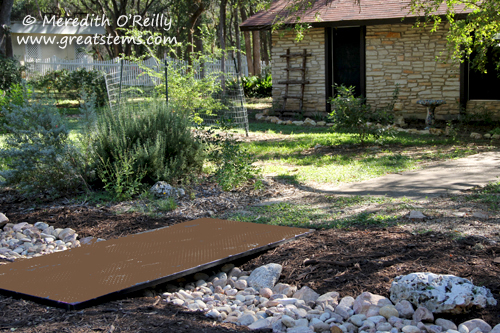
I just adore the creek. It was a project that I was nervous about starting. Would it look good? Would it be ridiculously expensive? Would it become a maintenance nightmare? Would it take forever? But my worries were unwarranted — the creek has improved the look of our front yard tremendously and it looks remarkably natural, fitting well with the wildlife-friendly nature-matching approach we take to our garden. The biggest drawback is that I don’t like buying rock — I don’t feel it is very sustainable to do so — but I do want people to understand different ways to keep water on their property, and this is a visible example. We need water to permeate the land in an urban environment, not be sent down a storm drain and channeled off somewhere. Though my original trench did serve that water-retaining purpose, it wasn’t something I could show folks and have them think it looked it even remotely good. So I had to weigh the pros and cons, and ultimately I opted to go for the bed, buying the rock from a source close to the Austin area. Much like painting the house, adding ponds and natural pathways, and installing the tree gate, the dry creek bed has greatly changed the look and feel of our property, in a most positive way. Yay!