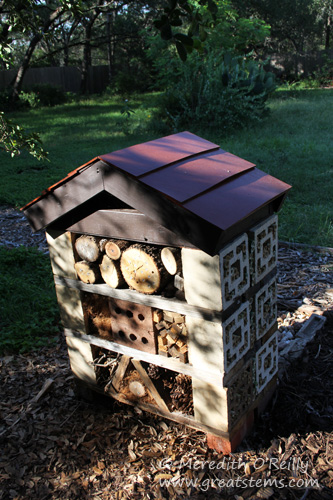
One of our spring projects was to give a gift to pollinators and a boost to the ecosystem by building an insect hotel. This type of project is becoming increasingly popular, and it was our turn to make one, by gosh.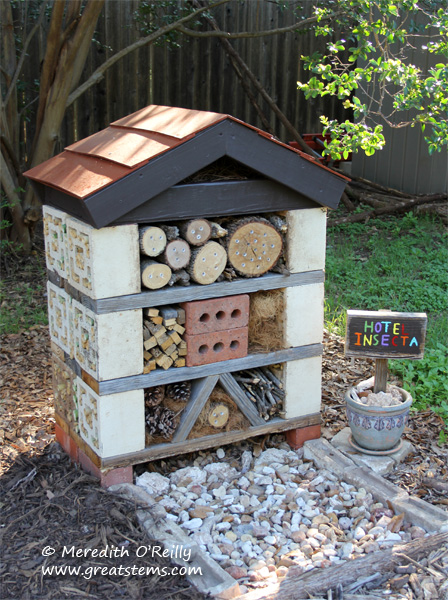
An insect hotel is a structure that offers native bees a place to build nests, a place for fireflies to lay their eggs, a place for lady beetles and butterflies and lacewings to seek shelter, and so on.
Part of the fun is building it with natural and re-used (untreated) materials, so making one can be super cheap. Ours cost us the price of one 2′ x 4′ piece of plywood, just a few bucks (we could have brought that price down to zero if we had called friends for a spare scrap, but rain was coming and we had to speed up a couple of steps).
Insect hotels can be done very simply, just by stacking materials such as old boards, pallets, or bricks. This makes it possible for even young kids to help create a hotel (check out this link for a huge variety of other people’s insect hotels). An adult should make sure the structure is safe and secure, but kids can help fill the open spaces.
But older kids and adults can really go to town to build the insect hotel of their dreams, so to speak. It can become a real-life math problem, a science project, and an engineering or art or architecture project all in one. Ours is somewhere in between simple and fancy. It LOOKS fancy, but it was remarkably simple — best of both worlds! So while there are lots of ways to build insect hotels, I’m just going to show you how we did ours.
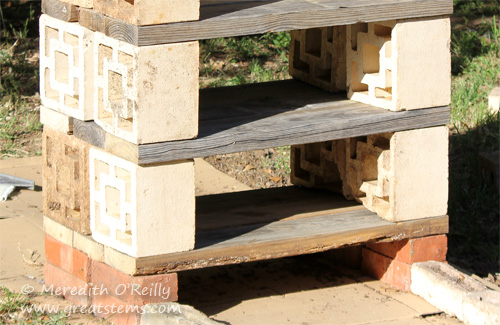
You start with what you have at home or can get for free — this makes every insect hotel unique (what a wonderful concept!). We had five things at home that made this project straightforward and easy to do. The first is that we had 12 vintage screen blocks our neighbor passed along to us a few years ago — we kept them until we could figure out a perfect project for them. We also had an assortment of bricks, decaying wood from one of our raised vegetable beds that was in need of repair, scrap pieces of 2×4 in the garage (for the roof), and lots of natural materials from our garden and yard (sticks, leaves, etc.).
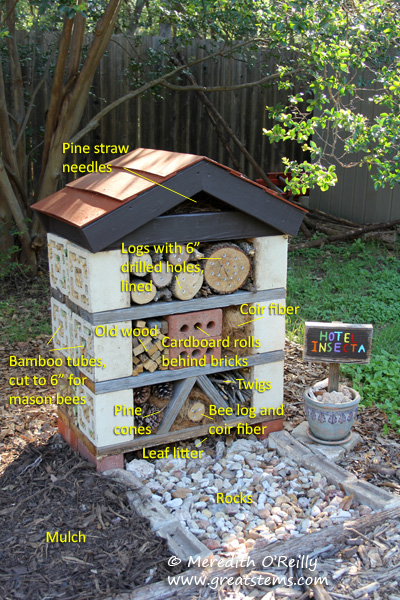
The vintage blocks set the stage for the design, as they also set the height of the shelves. We spaced them just far enough to allow for potential partitions (we would use more decaying wood and some bricks to create these). To add just a bit of additional height, we used two layers of bricks as the base, then cut the veggie-bed wood to size to create the shelves. The reason for the height from the bricks was to be able to add leaf litter underneath the insect hotel to give toads a place to find shelter, caterpillars a place to overwinter, and lizards a place to lay eggs. I should probably mention that we also removed grass and laid down cardboard as a barrier to weeds (the cardboard will break down quickly but will block out light nicely for a while to keep weeds at bay).
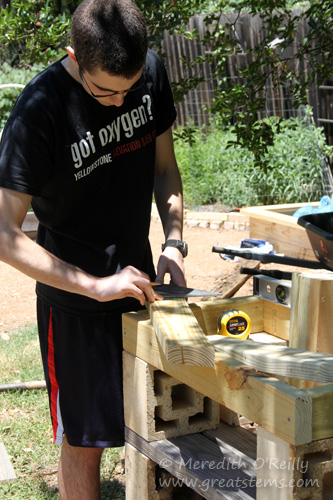
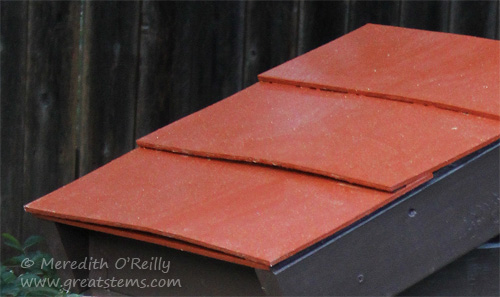
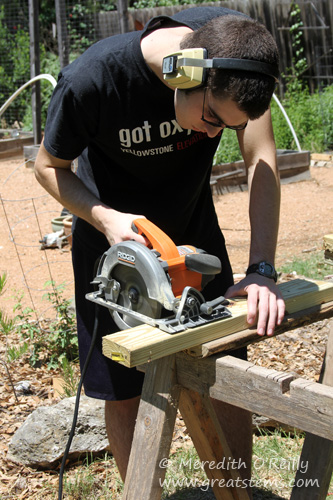 The roof was the only part where we used new wood, that 2×4 plywood I mentioned, plus some scrap wood lengths we had in the garage.

You can see the basic roof design my kids and husband created to fit the hotel. This is the only piece that involved nails of any sort — everything else is stacked only.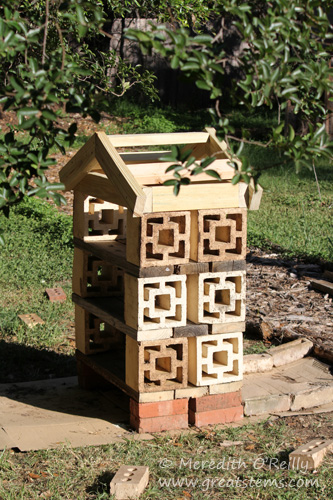
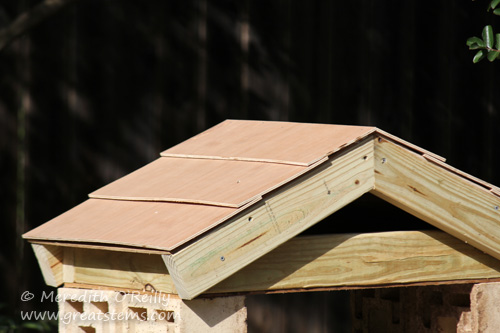
The plywood was used to make shingles of a sort. A bit of caulk at the top filled the seam.
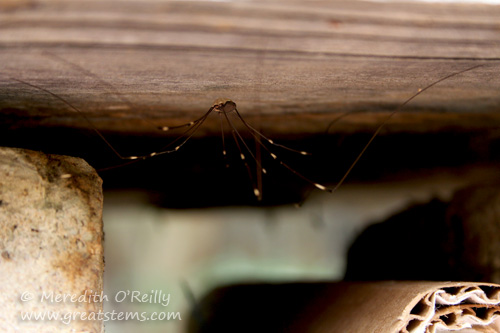
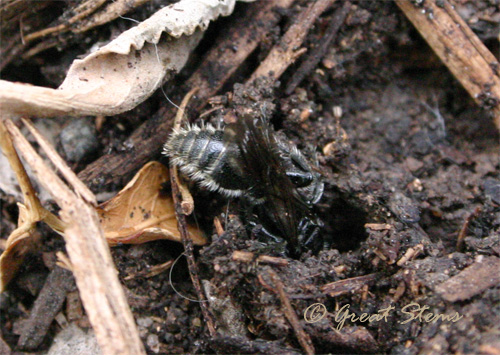
Already at this point, a harvestman and a tiny orbweaver spider had moved in. Clearly they were eager for bug feasts to come.
 I painted the top section using leftover paint from our house’s exterior — this makes the insect hotel fit the setting nicely, as it matches our house and the color scheme of our garden’s decorations. Of course, it rained that very night, so in the picture it looks dirty. Rain came again for a few days after that — I was so glad the roof was done.
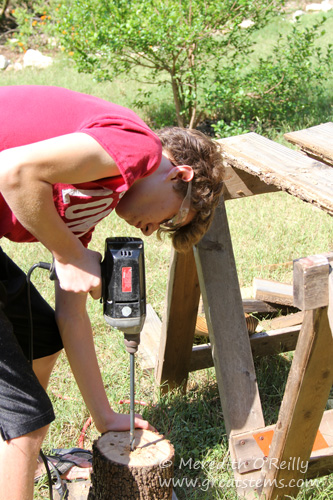
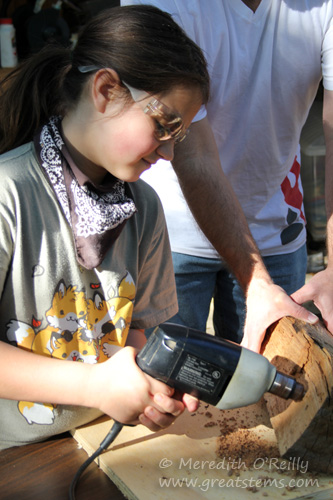
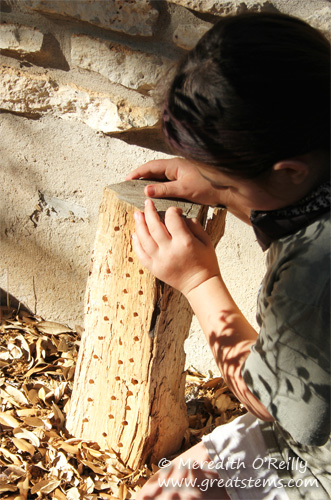
For filling the spaces, our priority was to create places for native bees to build their nests. We collected logs from the yard for this, using a chainsaw to cut them to an appropriate length. Following mason bee nest box instructions, we drilled holes 6″ deep into the wood (the deeper holes allow for female bee eggs — shallower ones produce male bees). So that we could add homemade paper liners to better protect the bees (again, following the advice of experienced mason bee keepers), we used a 3/8″ drill bit rather than the traditional 5/16.”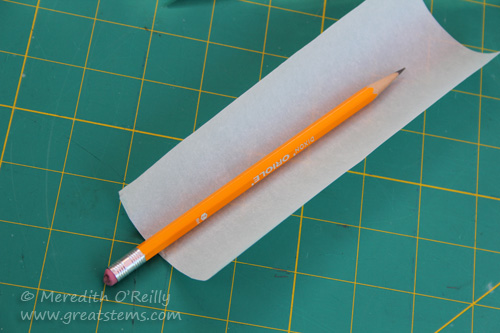
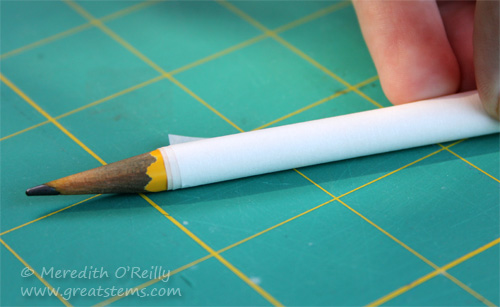
To make liners for the tubes, we cut parchment paper to about 3″ x 6″. These we rolled tightly with a pencil, then inserted them into the holes (they unrolled nicely inside to make a good liner). The liners bring the hole diameter to about the 5/16″ preferred by mason bees.
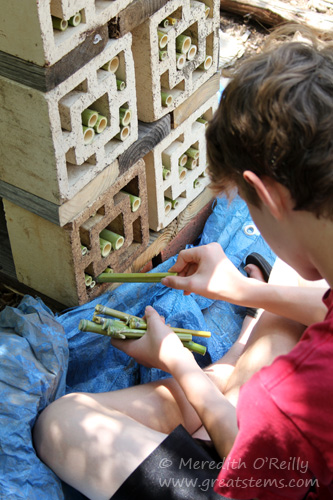
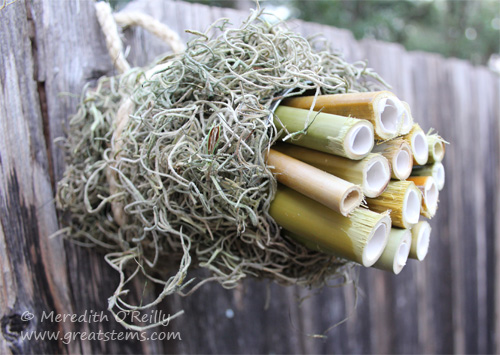
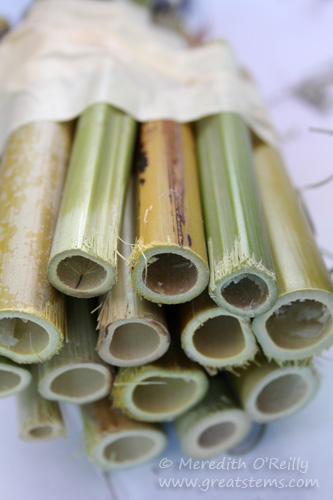
The screen block was a perfect place to add additional places for nesting bees and other critters. A neighbor on our street is always happy for us to cut down the running bamboo that is invading her yard from her nearby neighbor’s property, so we gathered bamboo, trimmed off the branches, and sliced the bamboo into 6″ lengths of all diameters to fill the holes.
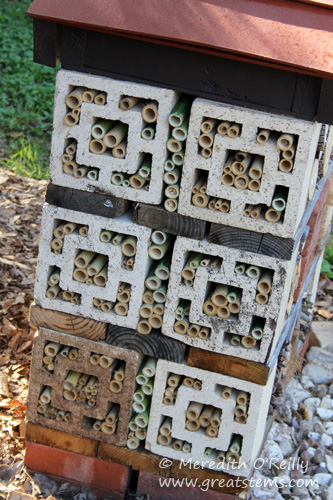
Here we were casual about it — there are lots of different sizes for many species of insects interested in using the bamboo. Some were cut with the bamboo joint at one end, so they are open only from the opposite end (nice for shelter or nesting), while others are open at both ends, allowing an insect to pass into the main hotel structure if it desires.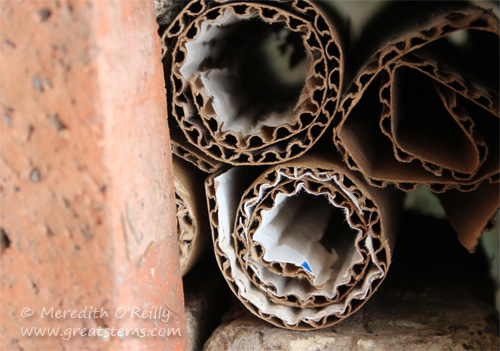
On the middle shelf of the insect hotel, we created partitions with bricks, then inserted rolled corrugated cardboard as lacewing shelters. 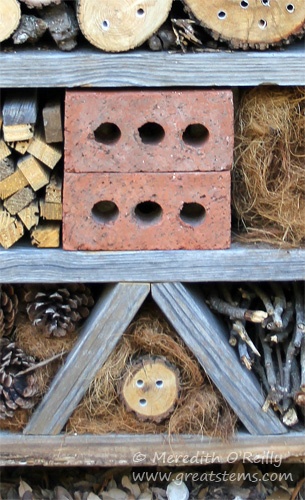
Additional bricks, with the holes open from the front, protect the cardboard and insects while allowing easy passage for the critters to enter and exit. We also made “A”-shaped partitions simply by cutting more veggie-bed wood to size and sliding it in — no nails required.
Other materials used were decaying wood slices for firefly larvae, loosely placed coir fiber as a general shelter place for small insects, and twigs and pine cones and other wood bits for additional shelter. We filled the roof section with pine straw needles. Though we intended it for insects, it wouldn’t surprise me if Carolina Wrens or other birds will nest in the roof’s pine straw one day. They might think an insect hotel is a perfect place to build their home — convenient food on the spot!
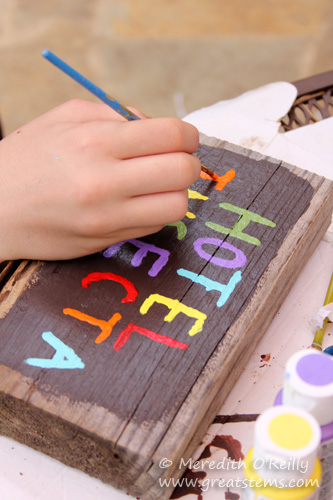
Of course, there was one more finishing touch needed. A grand-opening sign! We made use of some more rotting wood from the old veggie bed and some more outdoor paint, including outdoor acrylic, that we had on hand. We attached a supporting piece of wood to the back, then stuck the sign into a plant pot with some rocks (see top photos above).
View from the back
The back of the insect hotel duplicates the front half, mainly because we liked the front so much.
We’re already seeing evidence of bees building nests, and other critters (including more little spiders) have moved in. What a simple but rewarding project! Though we could have finished this in just a day or two, we spread it out over time due to occasional rainstorms. The most time-consuming part, honestly, was drilling the holes in the logs. You have to take a lot of breaks to let the drill and drill bit cool down — they get hot!
To see a couple of other nifty Austin insect hotels, visit Sheryl’s tall, well-planned structure at Yard Fanatic and Vicki’s clever use of an antique bottle rack to make her uniquely awesome Bee B&B at Playin’ Outside. Another gorgeous insect hotel is Gail’s pollinator condo at Clay and Limestone in Tennessee. Remember to also check out the link at the top to get even more ideas!
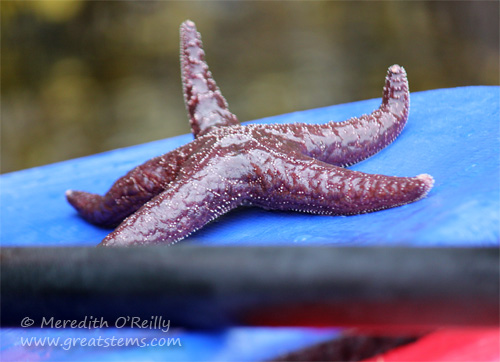 The water was surprisingly clear, too, and that meant we could see sea stars, jellyfish, and other marine life pretty well. Above is a Purple Ochre Sea Star, a keystone species. It helps encourage marine life diversity by controlling populations of the Common Mussel.
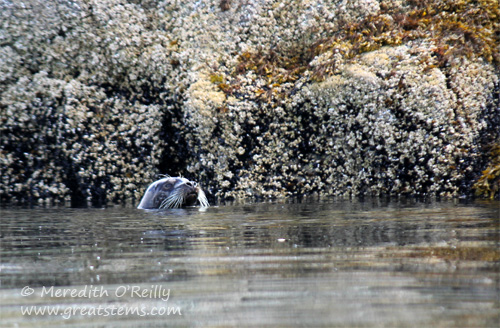
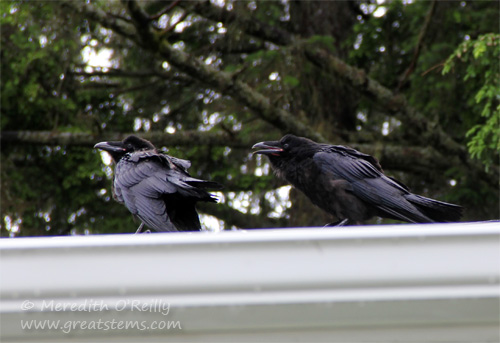
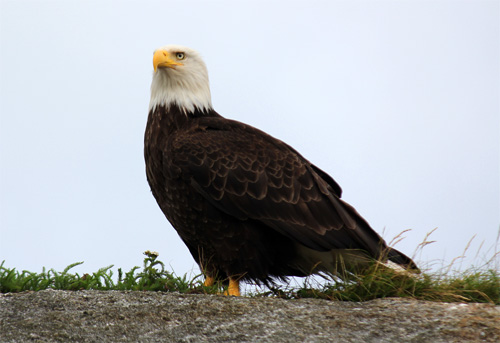 A bald eagle stood watch from a rock near one of the Tatoosh Islands.
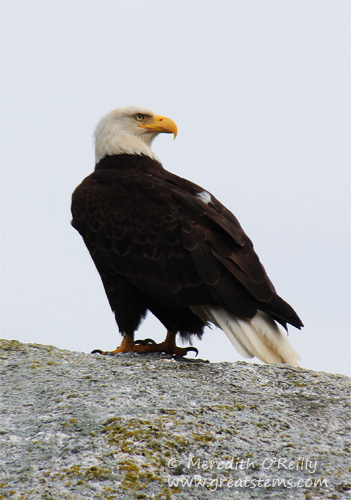 It truly is a majestic bird and quite big — an adult can weigh up to 14 pounds.
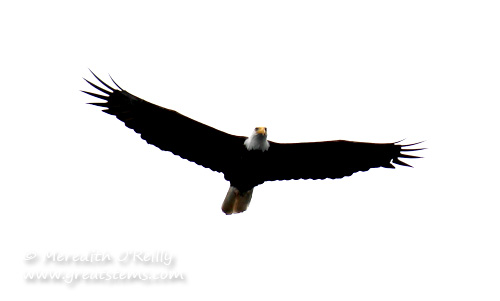
 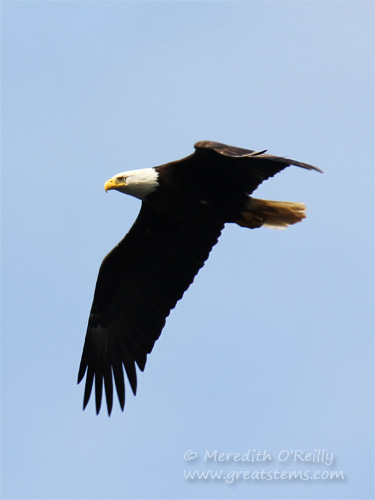 Bald eagles are stubborn birds. If they catch a fish too heavy to fly with, rather than drop it they’ll swim along awkwardly with their wings serving as paddles.
  Our final cruise stop was Victoria, British Columbia — a brief visit to Canada. I’d heard how beautiful this city is, but I’ll have to visit another time to truly see it. Our families voted to go look for killer whales, and so it was back to the ocean for us again.
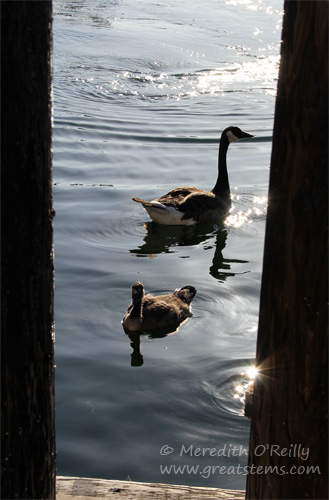
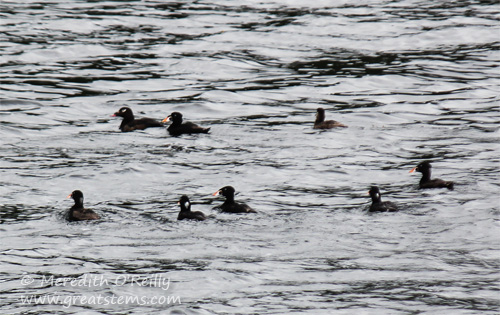
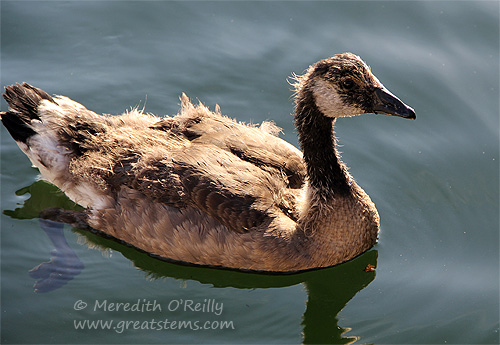 While boarding the tour boat, these Canada Geese swam over for a hello. It was nice getting to see Canada Geese while actually in Canada.
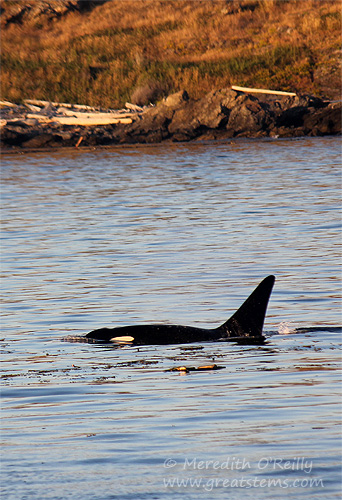
 We watched a small family of resident orcas. They were very focused on foraging for fish in the kelp-heavy waters.
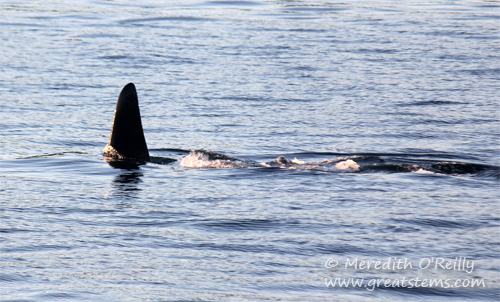
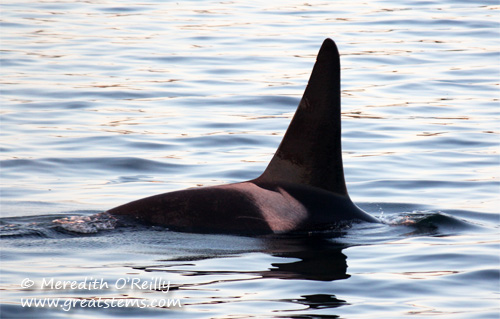 The killer whales were remarkably calm in their approach to getting food — swimming at easy speeds and occasionally curving into a deeper dive.
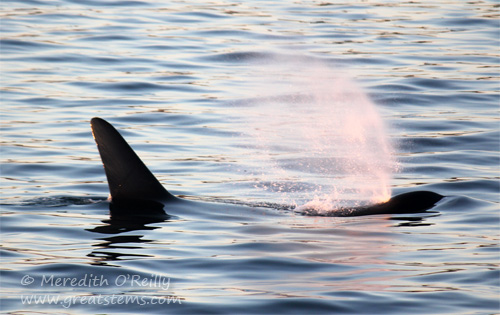
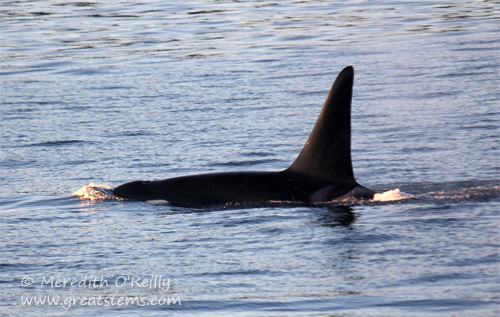 Who would have thought watching killer whales would prove to be a relaxing activity?


 Thanks to the morning rain, large banana slugs found easy passage across the paths. Their slow pace make them pleasant photo subjects. This one was about 6 inches long.
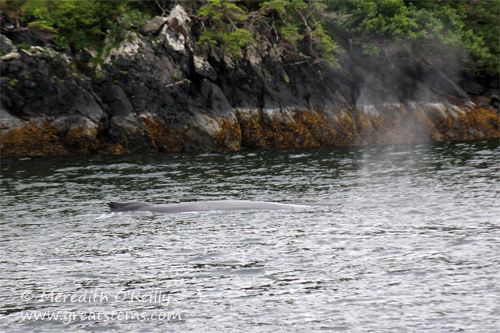 Taking a boat in Sitka Sound, we enjoyed plentiful wildlife, and by this time the rain had ceased completely. Above is a friendly, well-known humpback whale named Domino.
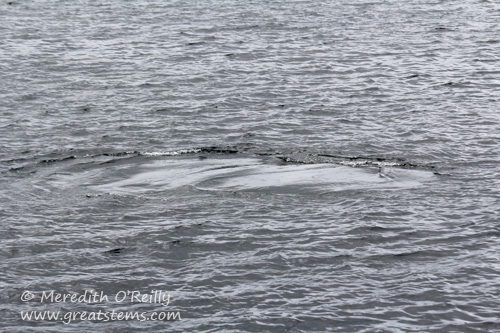 Here’s what is known as a whale footprint, a slick spot that forms as a whale thrusts its fluke up and down underwater.
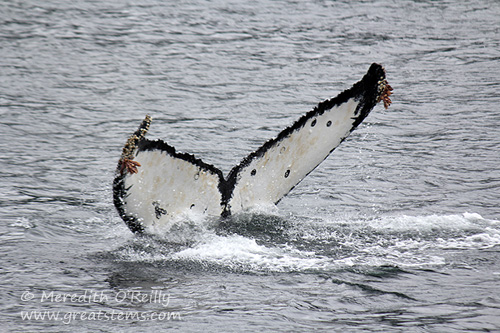 Not only does Domino have distinct black spots on his fluke, the growth of barnacles at the tips is an additional identification mark for this handsome whale.
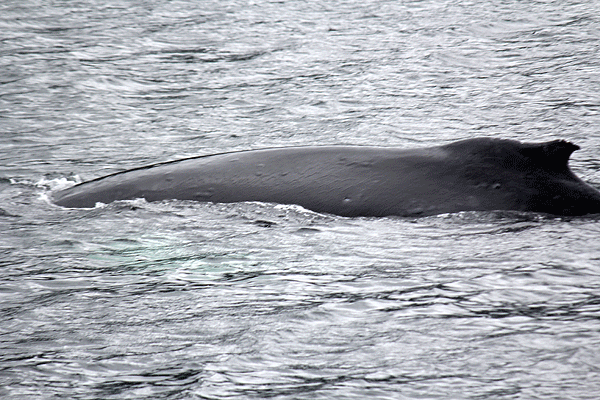
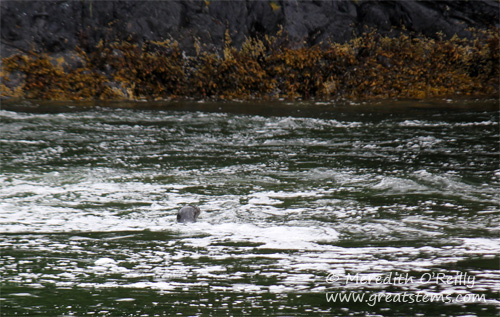
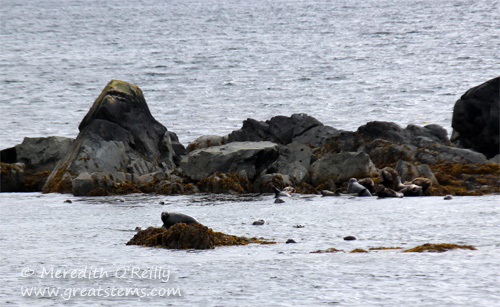 Near these tiny islands, mere rock outcrops, a large group of harbor seals basked, played, and fed.
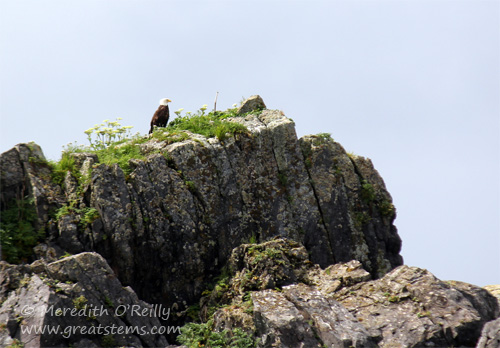


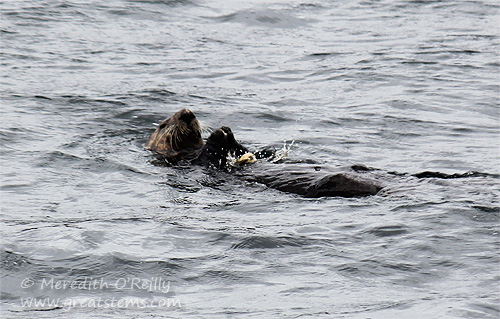 I can probably safely say, however, that despite the large variety of wildlife we saw in Sitka, our family enjoyed the sea otters most of all (though for some reason that harbor seal going after the jumping salmon still stays on my mind).
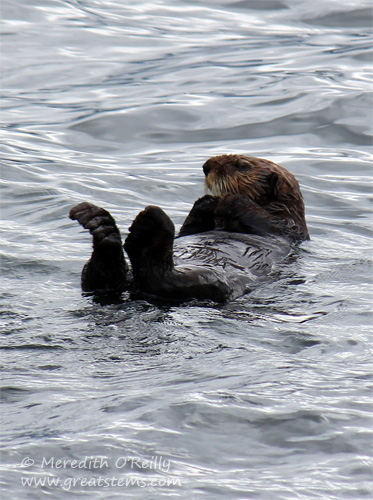
 They’d roll and preen and dive and eat, and they’d preen some more.
 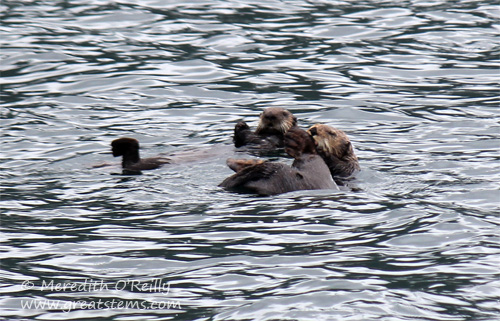 I’m so happy their numbers have been going up — they were hunted almost to extinction by fur traders. Sea otters are still listed as endangered, however. Sea otters are a keynote species, keeping the population of sea urchins and other kelp-eaters under control and thus protecting the habitat that provides shelter and food for so many other marine animals.


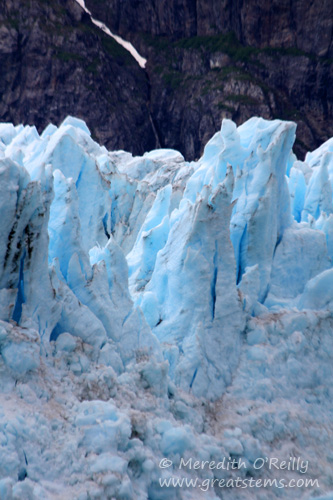
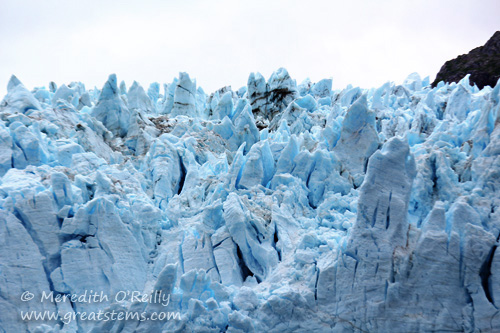
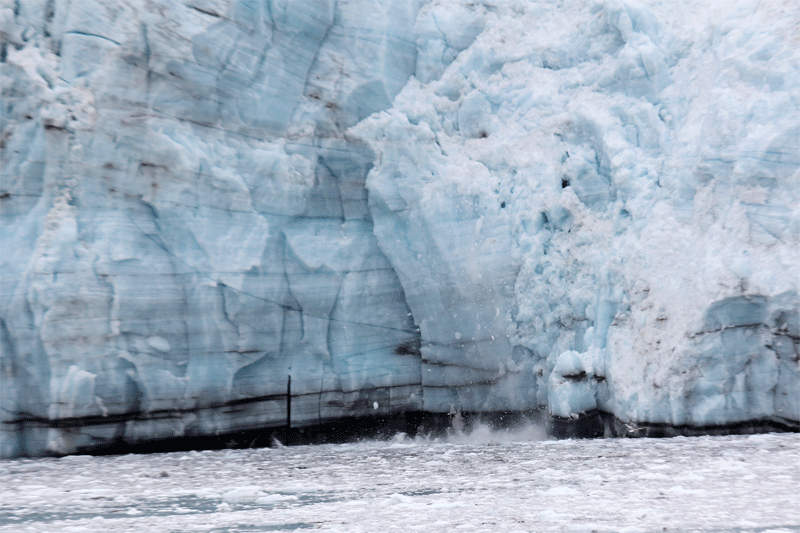
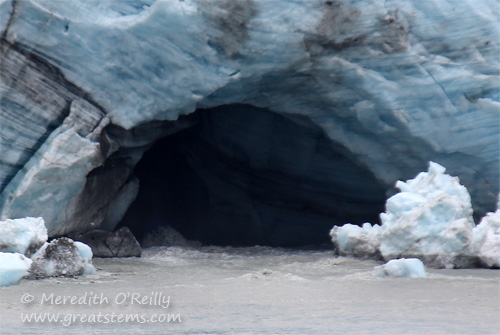
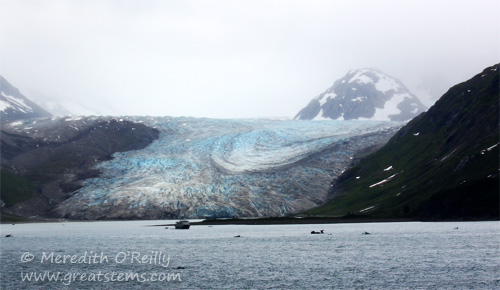
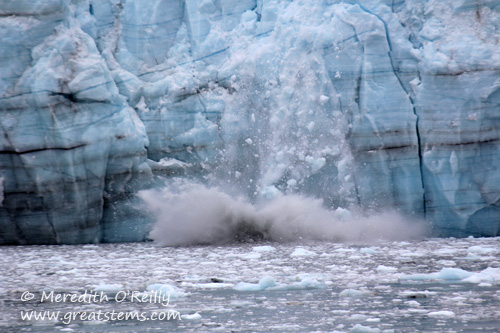 Calving is the sudden breaking away of ice from a glacier, forming icebergs and the like. Margerie Glacier calves actively all year long. Sometimes, falling ice might simply be small chunks, and by that I mean ones the size of Volkswagon Beetles or school buses.
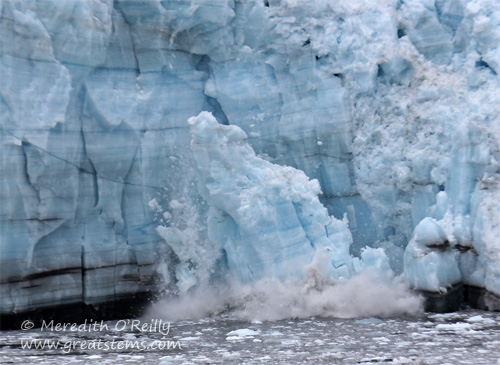
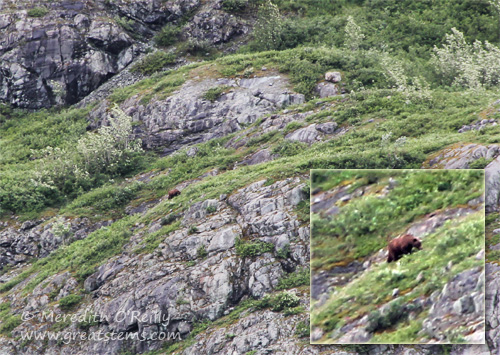 As we headed to other glaciers, we spotted this Grizzly Bear walking up a hill. From the ship, it was a mere dot and almost impossible to see without a zoom lens or binoculars.
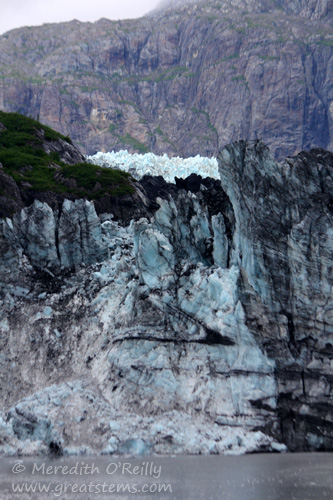
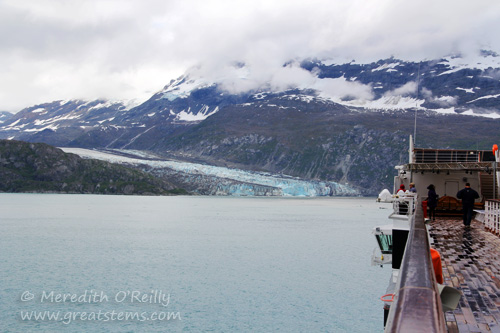 Lamplugh Glacier, 8-miles long and about 3/4-mile wide, is another glacier in the West Arm of the bay.
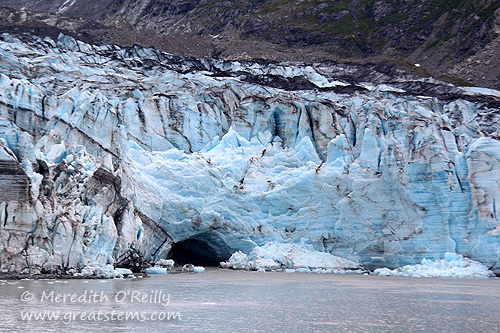
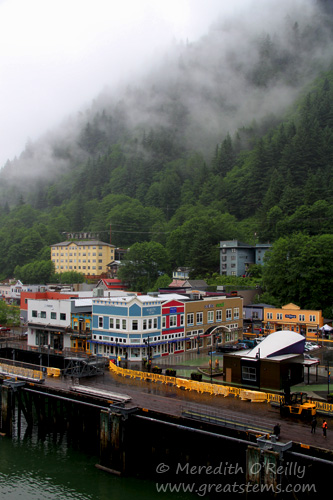
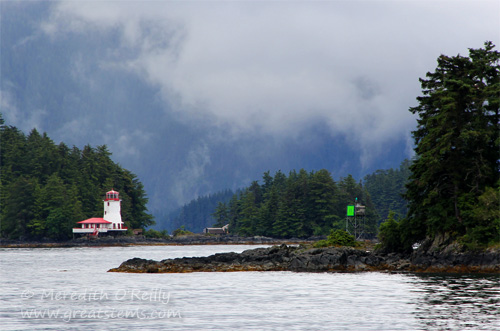
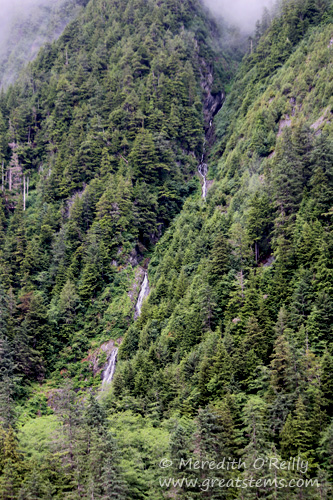
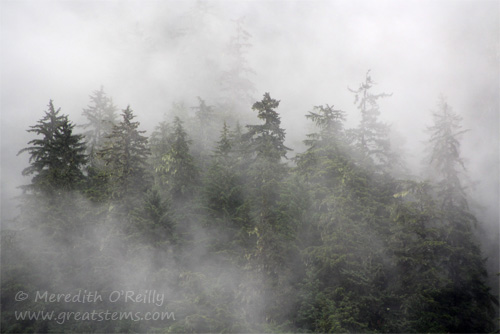 In fact, fog became the norm for our vacation, so much so that it became downright amusing. But that’s to be expected of the Pacific Coast in July.

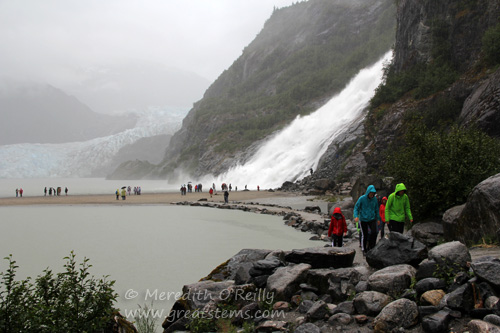
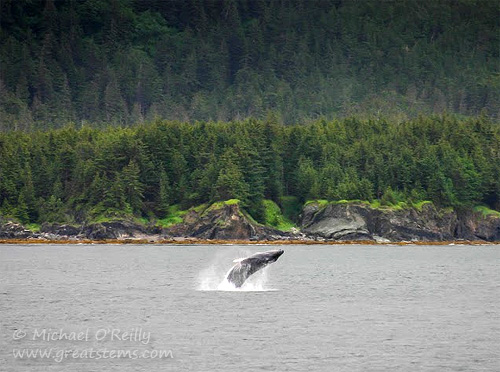
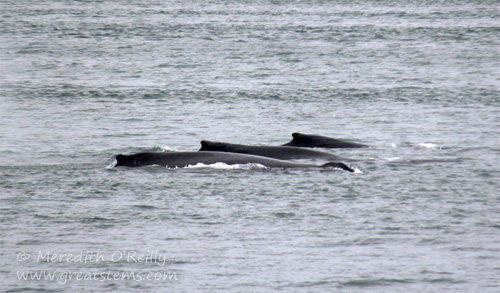 The real cold and wet fun came when we went whale watching in Auke Bay. Several humpback whales were in sight. These three stayed close together, feeding and taking breaths in near sync.
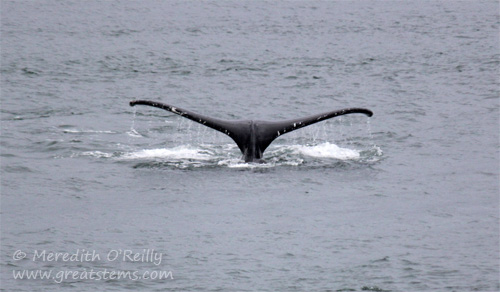
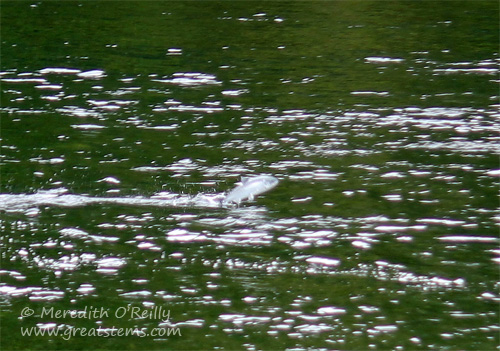
 Across the bay, a solitary humpback breached several times. Oh how we wished our boat had been closer!
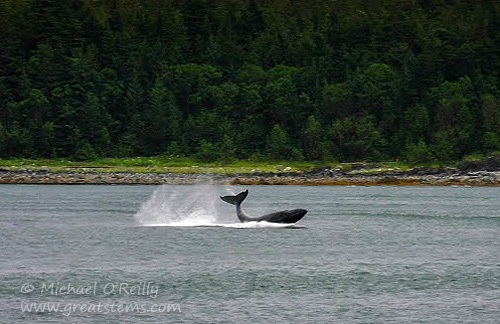 Even across the bay, the sight was thrilling.
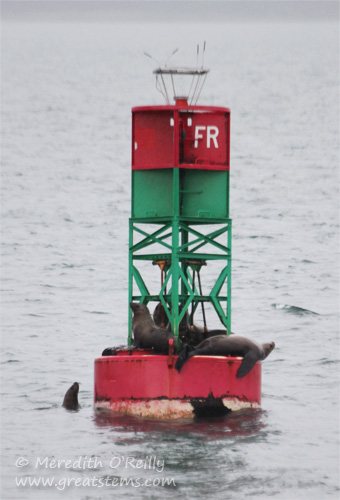
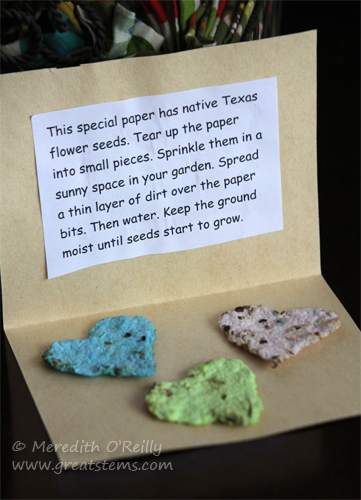
 Be sure to include patches of open dirt elsewhere in your garden to let mining bees, or digger bees, lay their nests, too! Perhaps create a sign for your special “Bee Patch.”
 B.
B.  C.
C. D.
D. E.
E. F.
F. G.
G.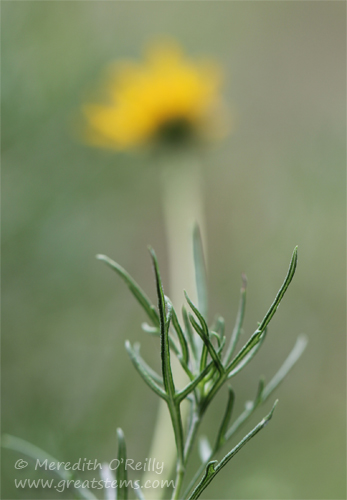 H.
H.
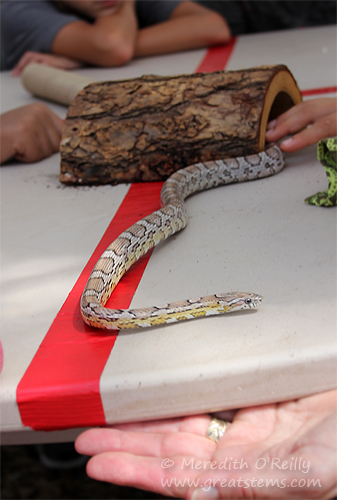
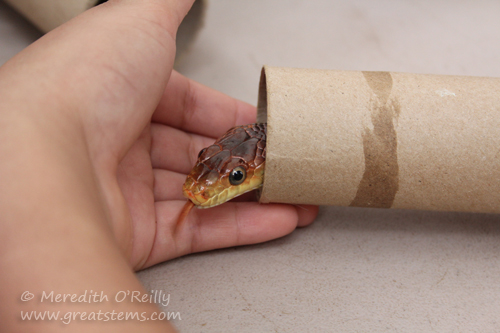
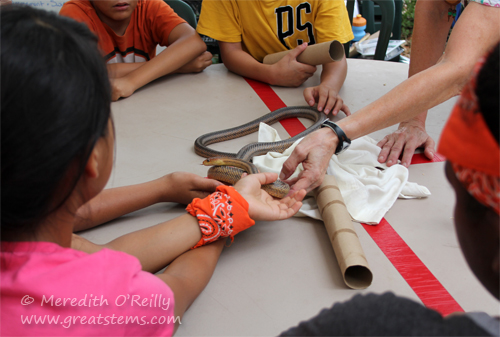
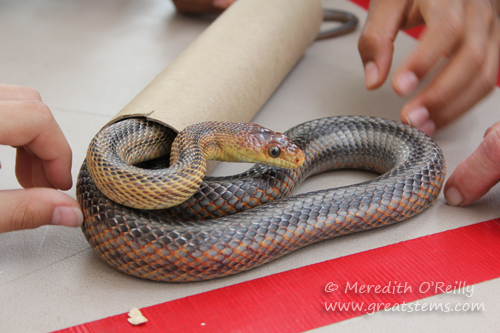
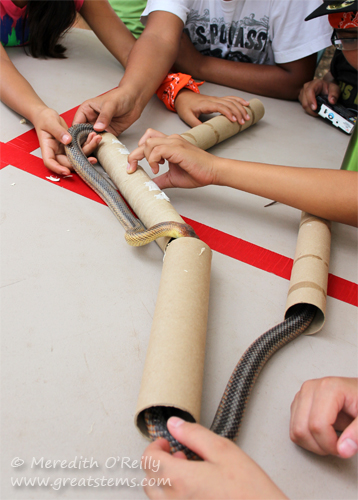
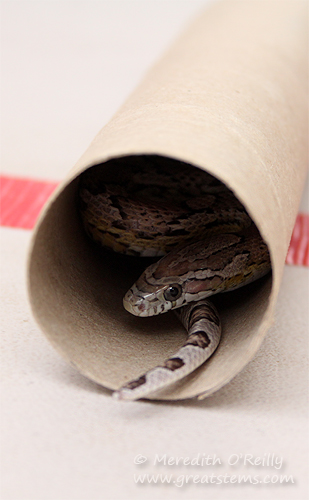 We have two snakes, but I only brought Walker for this teaching outing at
 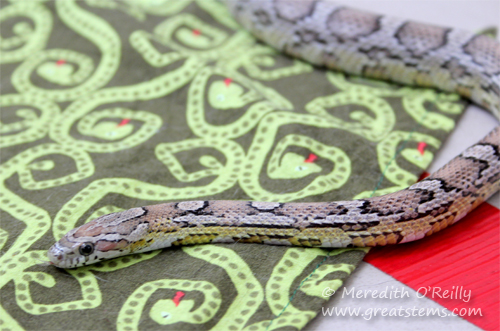 He’s quite comfortable with being touched, having been handled by our family and guests for so long, but he still a little guy and rightfully cautious when on a big white table under trees filled with birds.
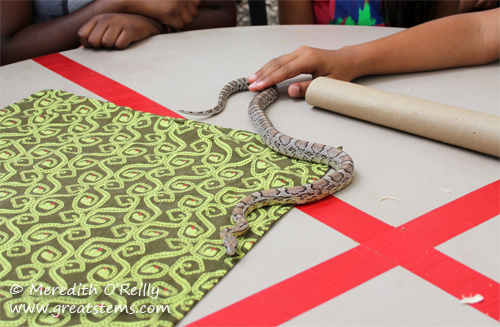
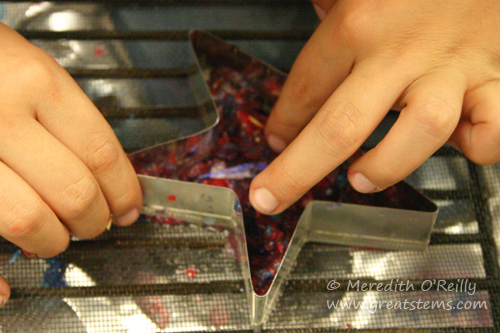
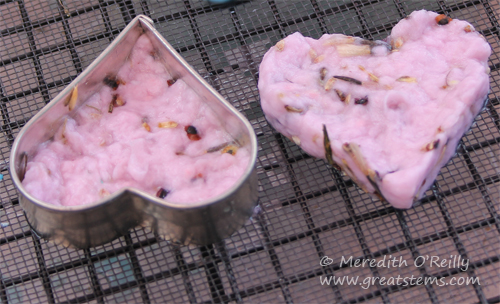
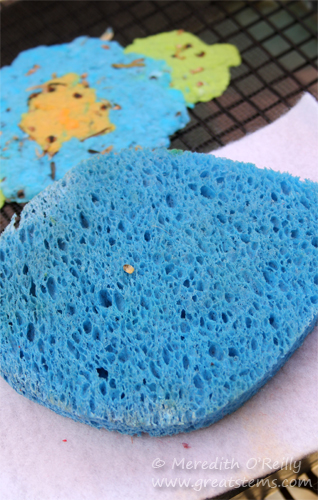
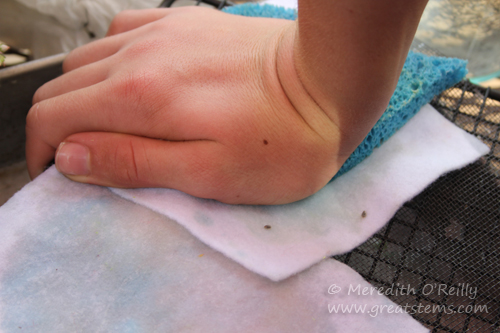
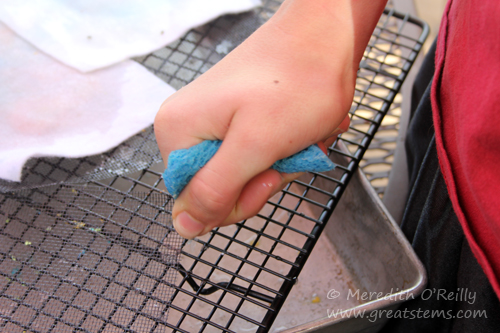
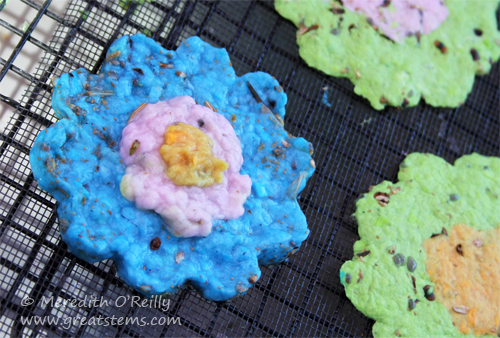
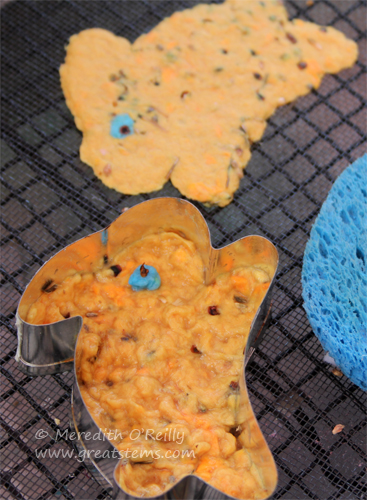
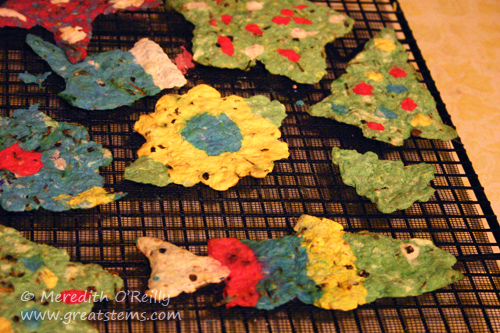 We’ve made bunnies, stars, airplanes, holiday shapes, and even a rainbow trout for a fisherman. Technically, you don’t even need the cookie cutter — if you want to make a lizard or a dragon or a bumblebee but don’t have a cutter for it, just create one by hand!
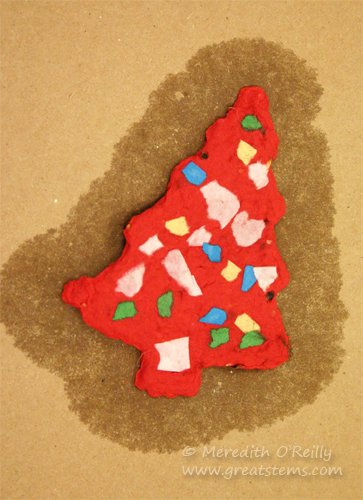
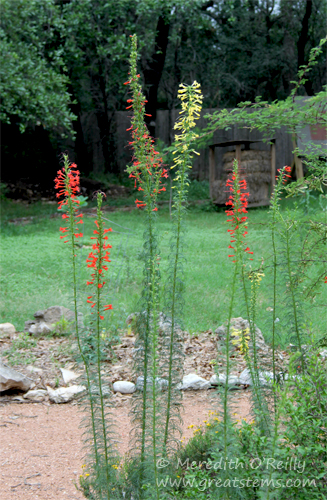
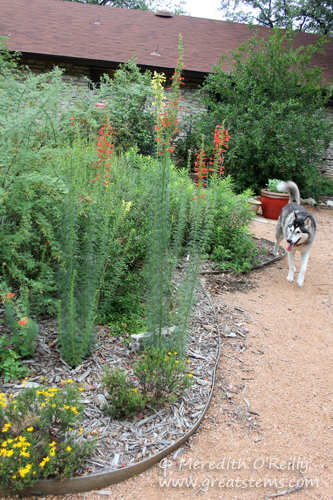
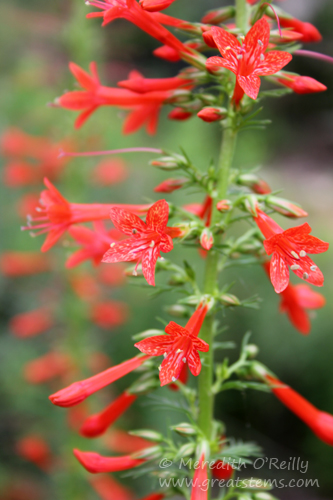
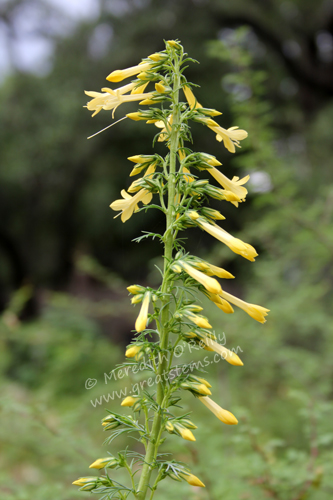
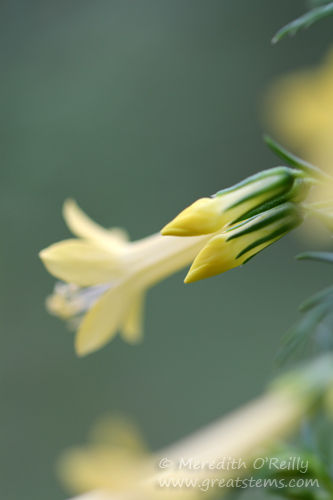
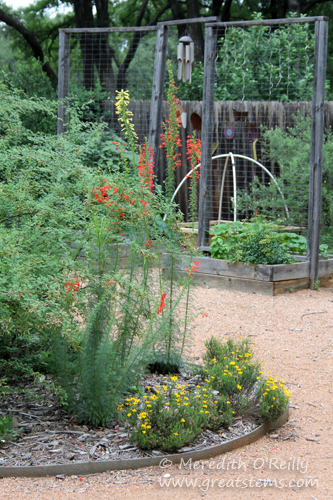
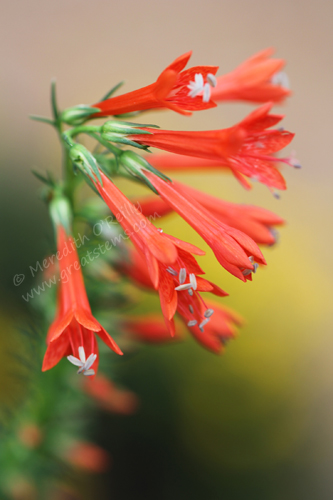 I have to show off the current eye-catcher in the garden, Standing Cypress, Ipomopsis rubra. Tall spikes of brilliantly-colored flowers draw your attention quickly — show stoppers, they are!
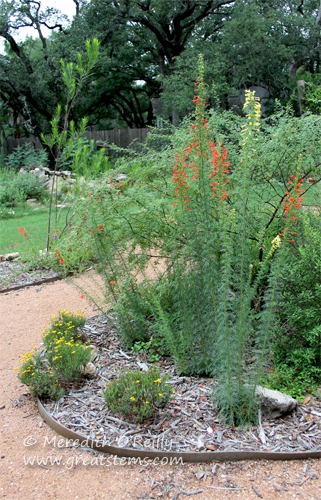
