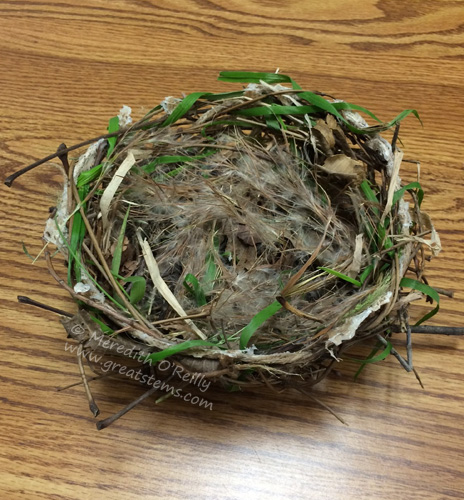
One of the perks of my job is that I get to have fun creating new science-based, nature-related activities for kids. This winter break I wanted to create an engineering-based activity for creating a realistic-looking bird’s nest using natural and/or biodegradable materials. It sounds easier than it actually is — even birds who do it by instinct spend many hours or even days collecting materials and creating their nest, and what seems to come naturally to them can be quite the engineering challenge for humans. It certainly isn’t a new idea for a kids’ activity, either, but it’s one that often leads to less than satisfying results. I also knew that I didn’t want this to be just an arts-and-crafts activity with chenille stems and other wasteful materials, and I wanted youth to be able to present their own ideas and find solutions. At the same time, I needed the core activity to be sound enough for success.
Different bird species use different techniques and materials to build their nests. Birds that create a “traditional” nest will typically select a sound structure that will support and even provide a little basic framework for their nest, then they gather twigs and other materials for a little trial-and-error placement to get the nest going. They then keep building it up, weaving materials and using mud and saliva and other means to prevent the nest from falling apart. Other birds mix mud and saliva as a cement for shaping an earthen nest, some do complicated weaving patterns with grasses, some incorporate spider webs and even snake skins, and some bypass the issue entirely by simply cushioning an available cavity in a tree or man-made structure. Birds are amazing engineers! For this particular task, I wanted to focus on the classic nest look with twigs and grasses.
 How do you turn this activity in a youth-driven engineering challenge? One option is to have them gather (or you provide) a bunch of natural materials and challenge them to create a basic nest that will hold a set number of like objects, such as 3-4 marbles. They can do so individually or as partners, and it’s a lot of fun. It can also be done in a single lesson or in about a 1-hour time frame.
But to fully create a realistic-looking nest, start by helping kids identify the tasks in front of them. Show pictures and videos of birds building nests and lead a discussion about some of the challenges birds have to deal with to make a sound nest. You might even let the kids work with the materials for a while to consider some of the difficulties of the task ahead. Guide them to think about such questions as the following:
- Will the nest structure require framework?
- How do you keep the nest from falling apart? How would birds do it? (mud and saliva, spider webs, weaving grasses, etc.) For our nests, what could we use instead of mud?
- What kinds of materials would work best for the main nest? For example, what length and thickness of twigs and/or grasses might be best? Should items be flexible or sturdy?
- How do you keep the inner shape of the nest relatively round?
- Should you add a lining for the eggs and baby birds? What might birds use? (soft plant fibers, dog fur, downy feathers, leaves, etc.)
- Is there anything unique about the nest that you’d like to build? Would you add a roof of sorts or create more of a cavity style?
Once kids have identified questions and pondered the answers, help them figure out their basic plan. If they have a good idea they want to try, let them go for it. You can also show them a sample of dried twine pieces glued together and see whether they think it might be a technique they’d like to use. Let them be a part of figuring this out as much as possible. You might also wish to explain that twine is made from natural plant materials and is biodegradable, and that white school glue is non-toxic.
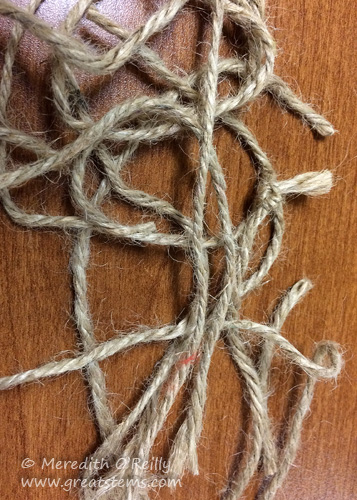 The following shows how to shape the activity using the glue and twine technique. Modify it according to kids’ ideas. Have kids make suggestions for what objects could be used to create a mold for the nest (such as a bowl). Have them also consider how to protect the bowl or other object from the glue (perhaps plastic wrap). Guide kids to see why shorter pieces of twine are potentially safer than really long ones, if the final nest might get placed permanently outside (shorter pieces are safer for wildlife to keep them from getting long twine wrapped around a foot or limb). Have the kids cut the twine into pieces 5-6 inches long.
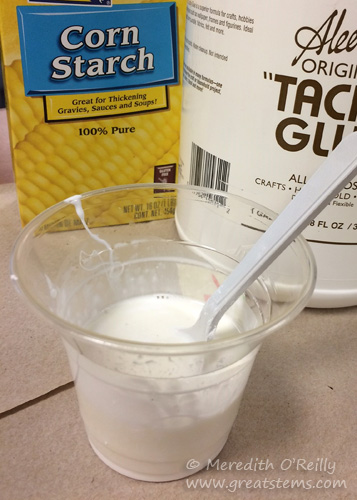
Let kids measure and mix the glue, water, and corn starch to make a sticky paste. For a single nest, I used approximately 1/4 cup water, 1/2 cup corn starch, and about 1/2 cup white school glue or tacky glue (non-toxic). The mixture is fairly thick but fluid enough to allow easy coating of the twine pieces.
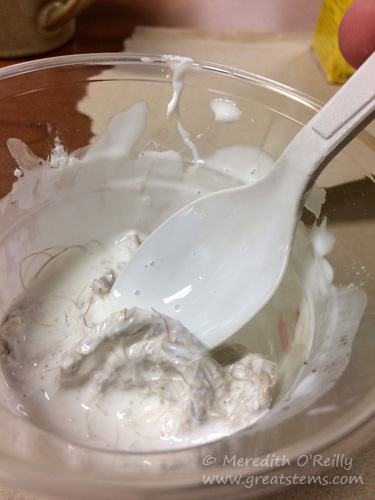
Working with a few pieces at time, use a spoon or fork to help coat the twine.
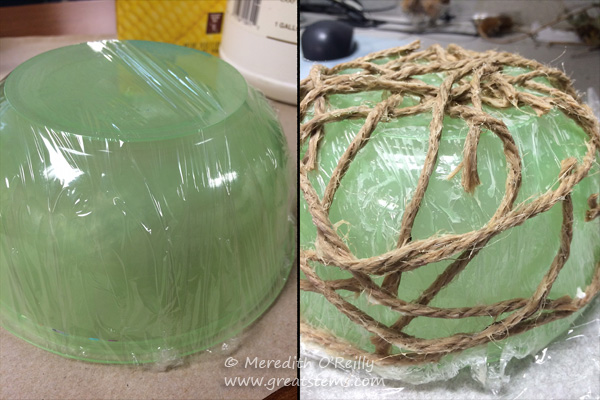
If you haven’t already, be sure to protect your bowl by covering the outside in plastic wrap, taping in place as needed (this will also allow for easy removal of the final structure). Have kids take a piece of coated twine, squeezing off the excess glue mixture. Then let them figure out the way they want to place the sticky twine on the bowl, keeping in mind their engineering requirements as they add more pieces. But you might suggest that they imagine what might happen to the nest if the twine were to get wet in the rain. How easily might it fall apart if the glue softens? Should they overlap and weave together the twine pieces (I did). Do they want to make knots? Open spaces are fine at this point.
I’ll admit that this part is messy, so hopefully you’ve put down some newspaper or cardboard or some other material to protect your table. Encourage kids to not smear glue on their clothes or on furniture during the activity, and be ready to get them to sink the moment they are done.
Let the nest frame dry for a couple of days. This is a fine time to let kids collect twigs, leaves, grasses, and other natural materials for their nest. When ready to work with the dried twine frame, help kids carefully remove their structure from the bowl and plastic wrap.
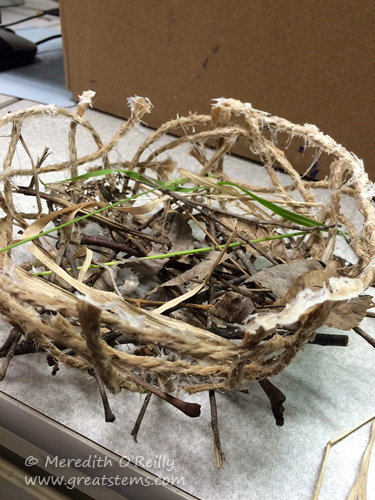
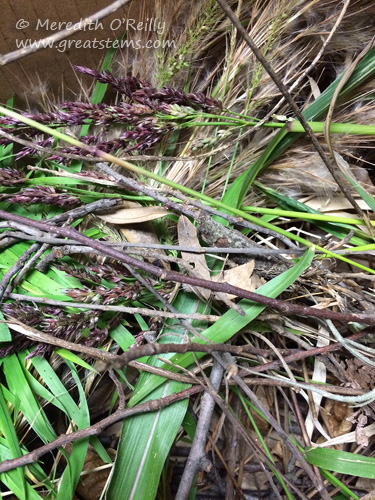
Then the fun begins — time to weave the natural materials through the nest frame! What size twigs seem to best, or can they vary? What materials are flexible enough to help weave through back and forth to “lock” other materials in place? At what point should you switch to softer lining materials? How can you keep the open bowl shape for the nest? Let kids do this with tweezers or forceps if they want to imagine they are birds at work!
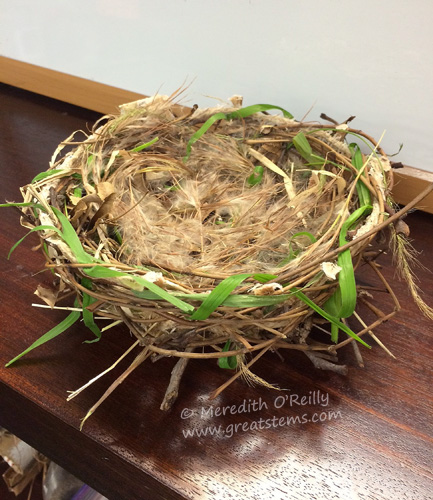 Have kids keep adding material until holes and gaps are filled and nothing slips out as they move the nest around. Encourage them to rotate the nest often and triple-check for gaps. To add to the challenge, you could have kids test the strength and stability of the nest by temporarily adding rocks, marbles, or other weighted items, by using a fan to blow on the nest, by giving a gentle shake to the nest, etc. Let kids make adjustments to their nest accordingly. At the end, discuss again how birds in nature make nests and why it’s important for the nest to be sound in structure. Why might different species have different nest-building methods?
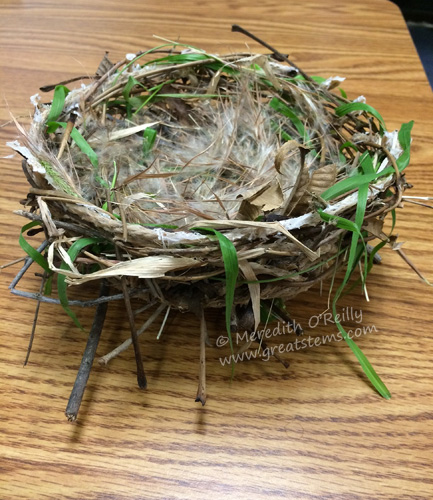
I used both dried and fresh grasses to help secure many of thin twigs and flexible stems I gathered. Within a couple of days, the greenery was already turning brown, though I didn’t take any new pictures.
Could you or should you put your nest outside? I think if you feel it’s fairly solidly built, then it’s fine, as long as you also put it in a place where it won’t fall to the ground in wind. I would expect that any bird parents actually interested in using the nest would add their own material to enhance the nest and check it for stability. But if it’s fairly loose and has some gaps, then just use it as decoration for home. If doing so, how might you create some eggs or a small bird to add to the nest?
This activity can be adapted for kids of any age, but I think that kids 3rd grade and up will be able to most of the work on their own. Grown-ups can have fun making a nest, too — you just have to be a kid at heart!
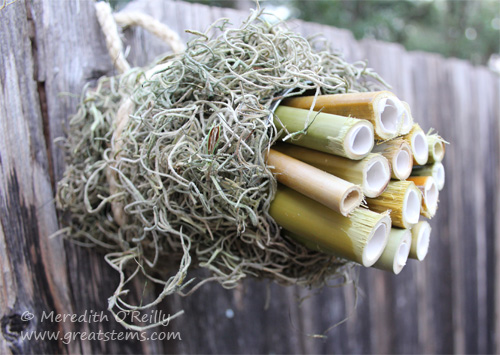
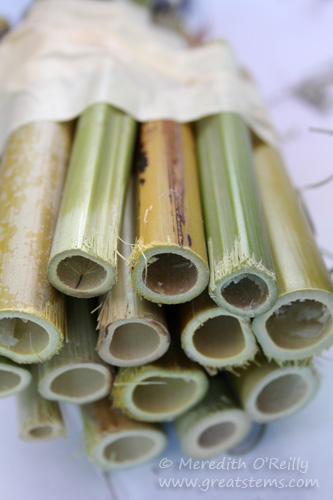
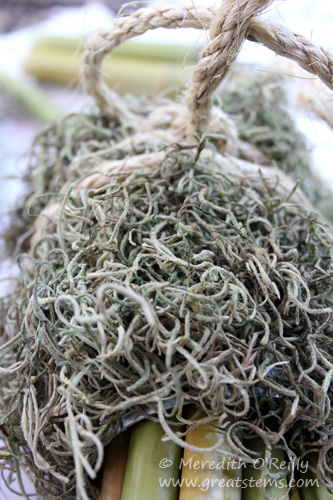
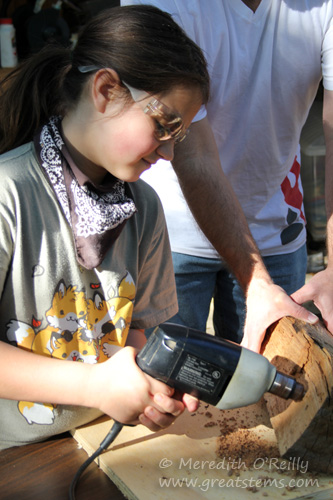
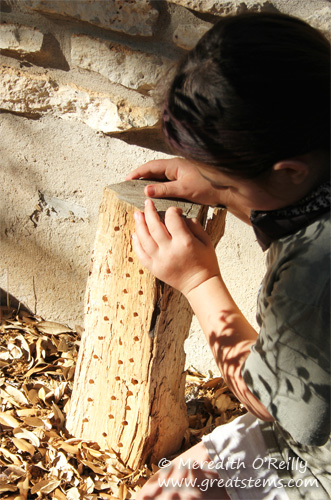
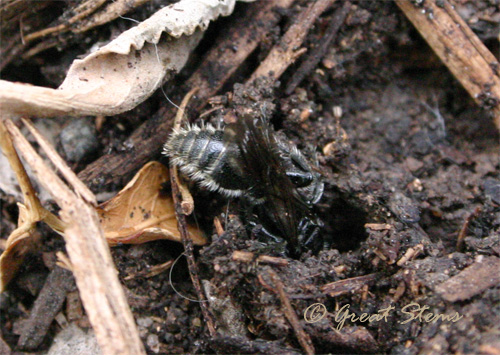 Be sure to include patches of open dirt elsewhere in your garden to let mining bees, or digger bees, lay their nests, too! Perhaps create a sign for your special “Bee Patch.”
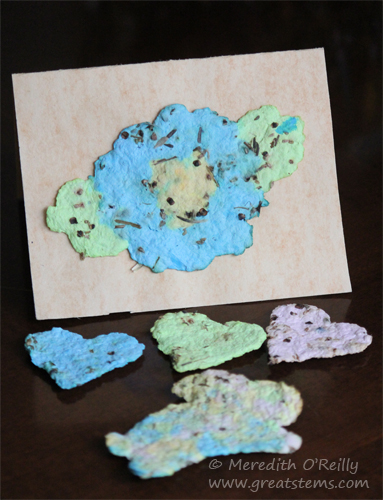
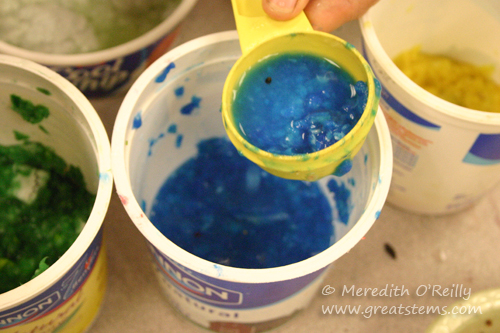
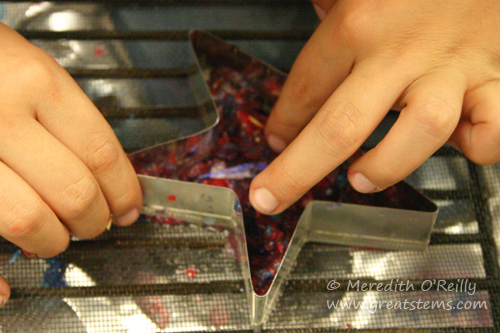
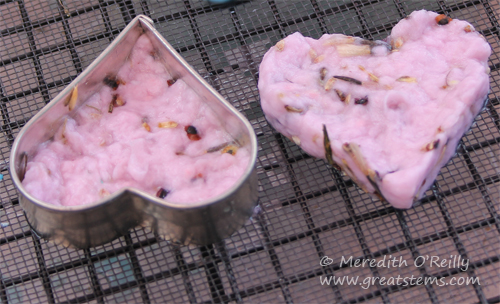
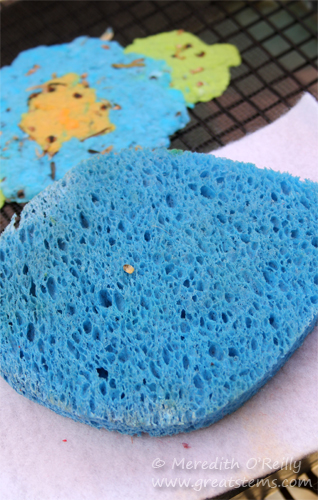
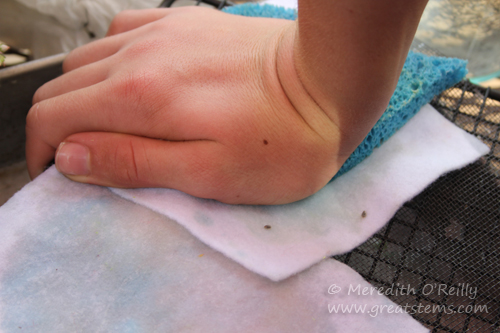
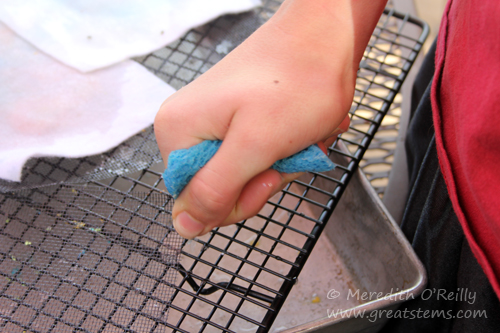
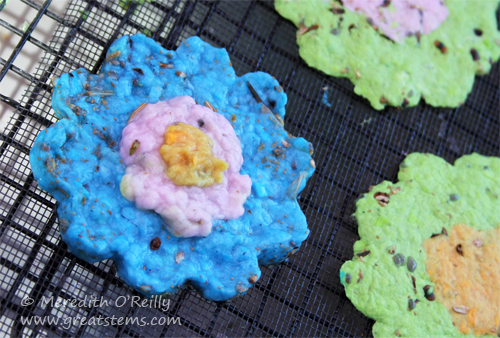
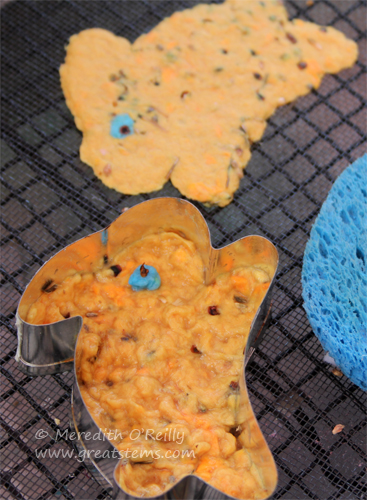
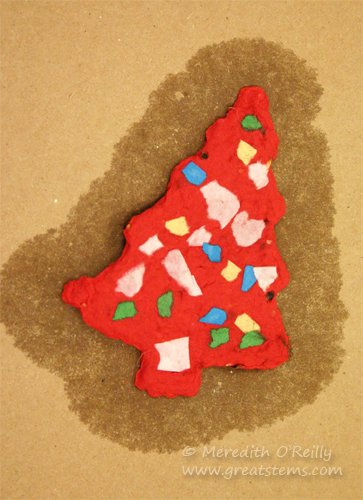
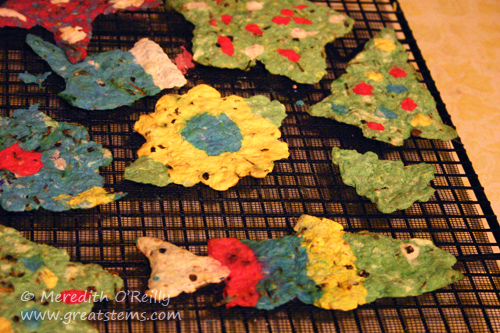 We’ve made bunnies, stars, airplanes, holiday shapes, and even a rainbow trout for a fisherman. Technically, you don’t even need the cookie cutter — if you want to make a lizard or a dragon or a bumblebee but don’t have a cutter for it, just create one by hand!
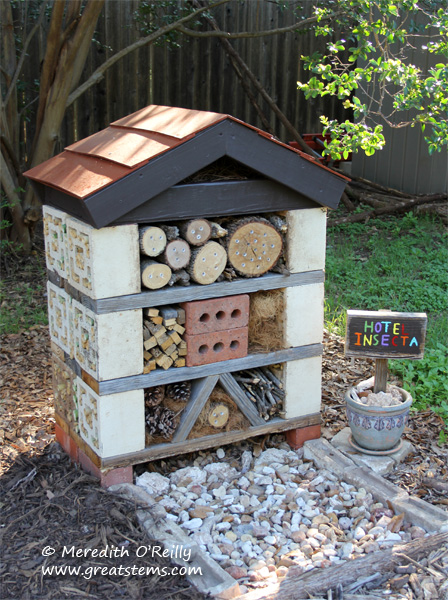
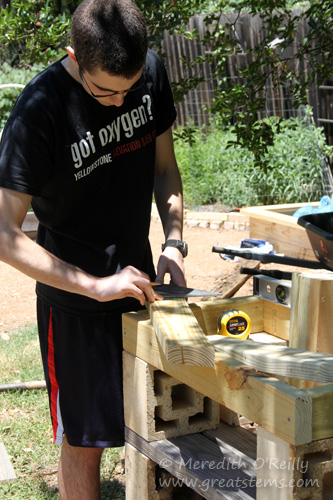
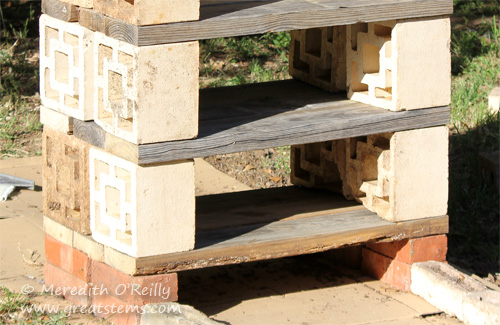
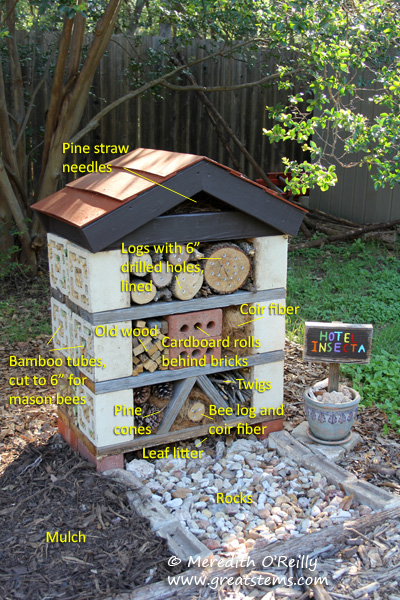
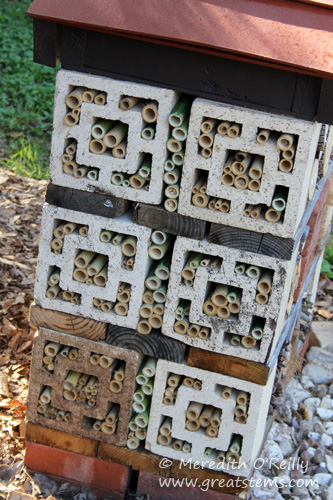
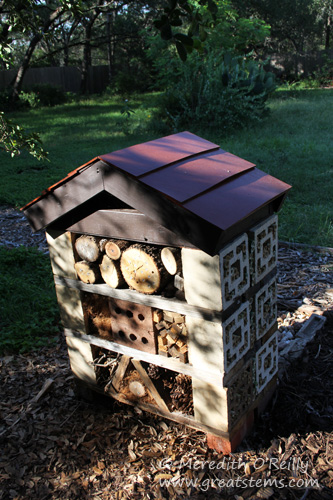
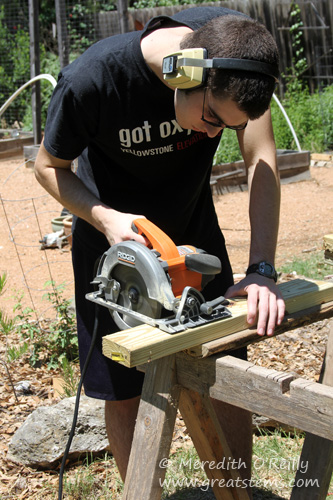 The roof was the only part where we used new wood, that 2×4 plywood I mentioned, plus some scrap wood lengths we had in the garage.
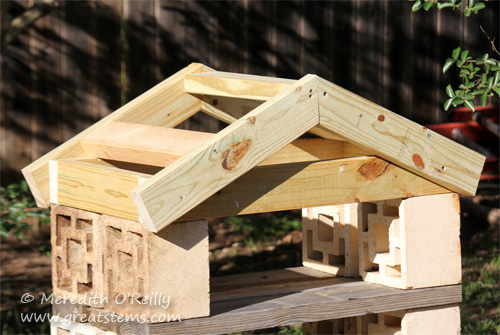
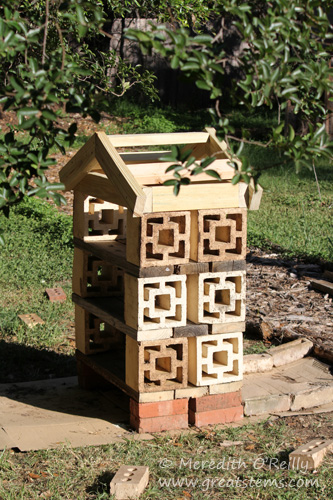
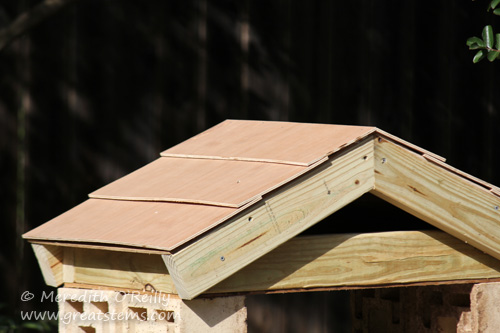
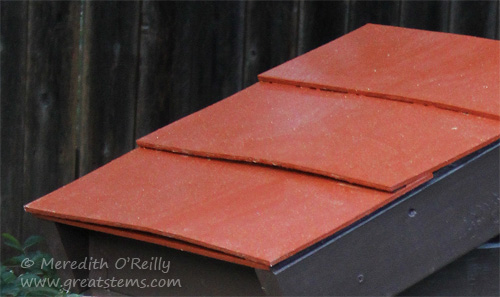 I painted the top section using leftover paint from our house’s exterior — this makes the insect hotel fit the setting nicely, as it matches our house and the color scheme of our garden’s decorations. Of course, it rained that very night, so in the picture it looks dirty. Rain came again for a few days after that — I was so glad the roof was done.
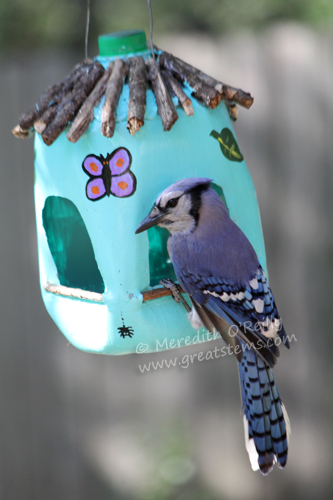
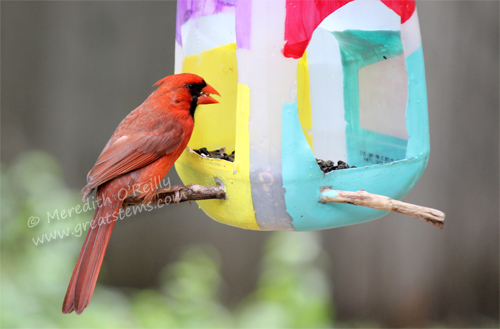
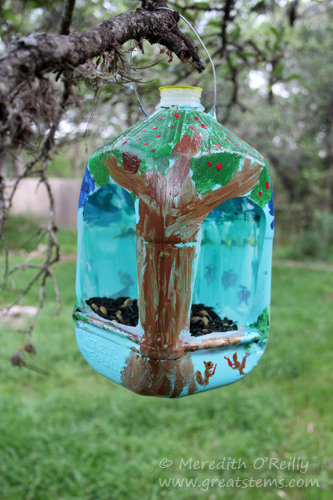
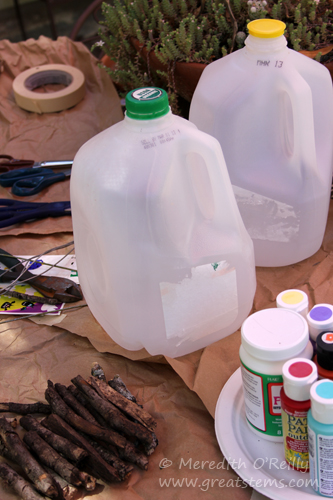 Materials can vary, depending on what you have on hand and how you want to decorate your feeder. The one thing you’ll need for sure is a milk jug. Oh, and birdseed!
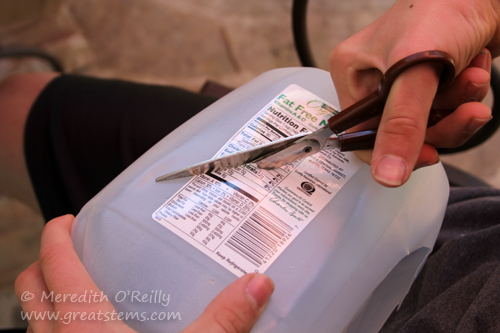
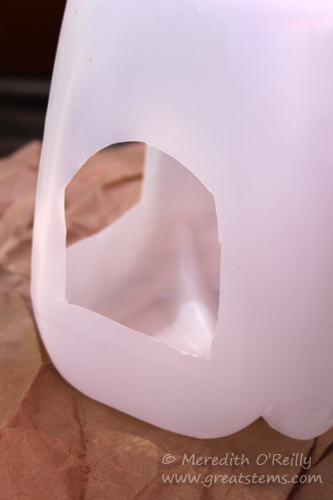
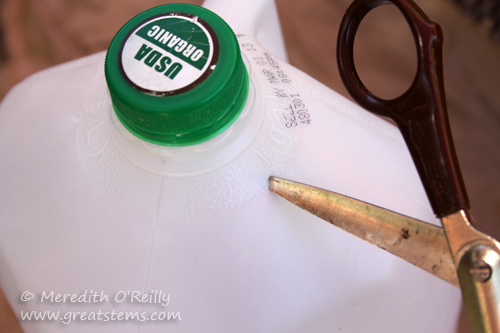
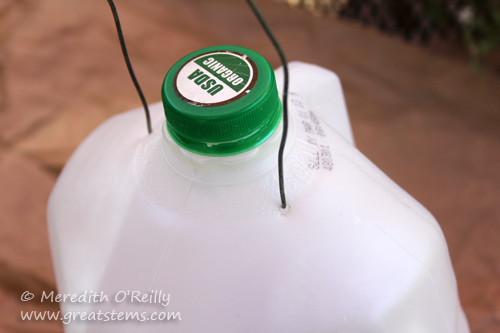
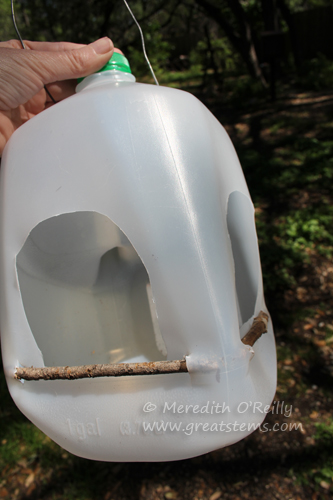
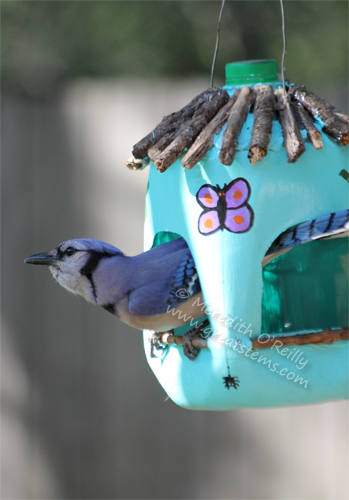
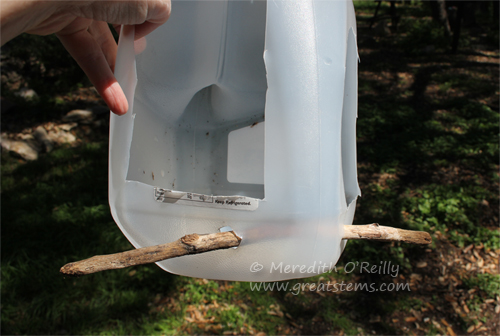 Another option is to create a long perch that goes through the corner. Cardinals especially appreciate this perch style (as seen in one of the first photos above). Again, glue it into place.
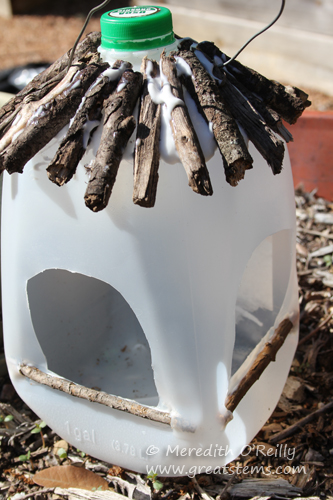 6. Before adding paint or other colors to your feeder, glue on any materials you desire. You can add a roof with small sticks, as shown, but be warned that it’s a challenge to adhere the sticks to the milk jug. You have to use a lot of glue, which can substantially add to your activity time because you have to wait for the glue to dry, possibly overnight. If you have the time, then go for it. We used Outdoor ModPodge to glue these sticks on.
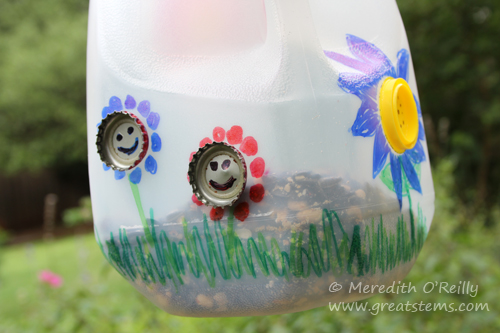 To adhere caps to the milk jug, consider using adhesive dots (such as Thermoweb Zots). To apply, press the cap first onto several dots (don’t touch the dots with your fingers); the dots will naturally lift off the paper. Then press the cap into place on the jug.
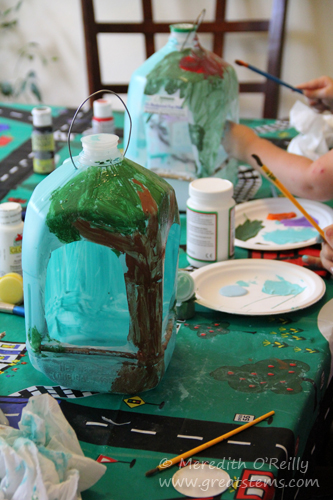
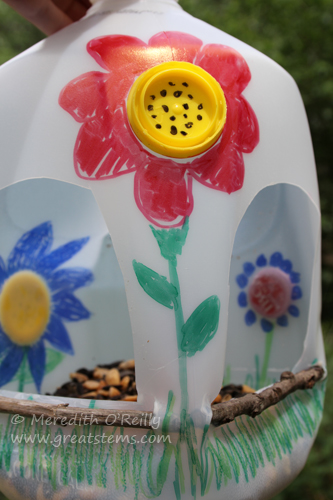 7. Decorate your jug with stickers, permanent markers, or paint, letting everything dry in between stages (note: Sharpies and other permanent markers will eventually fade in the sun — if using these, keep your bird feeder in the shade).
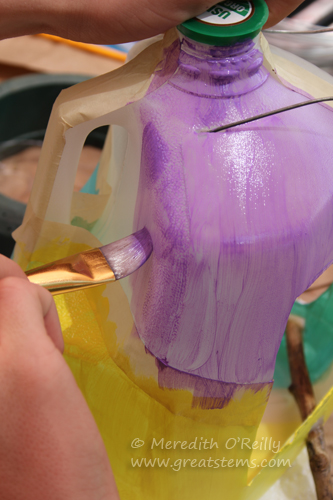
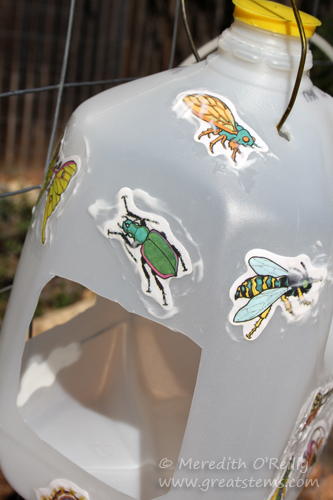 If using stickers, place a thin layer of outdoor white glue over them to help secure them — the glue will dry clear.
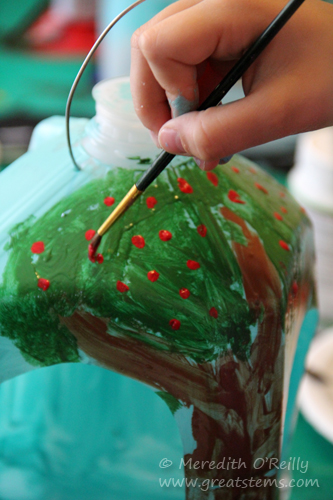
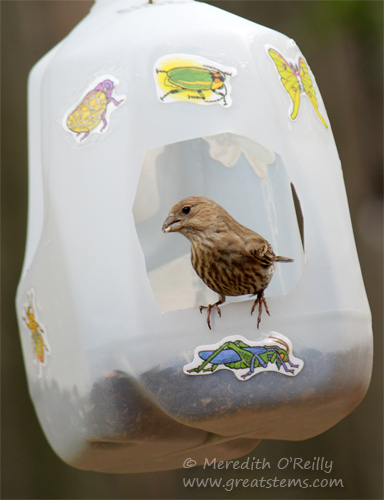
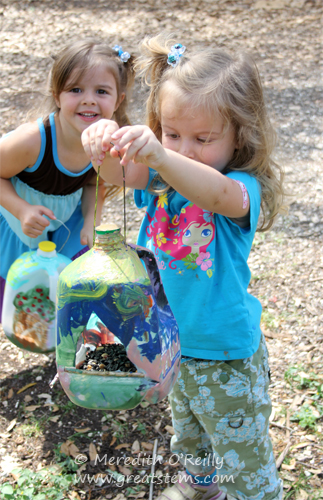 8. Finally, fill with birdseed and hang outdoors. It might take a couple of days for the birds to find your feeders, but squirrels might be happy to show them where it is!
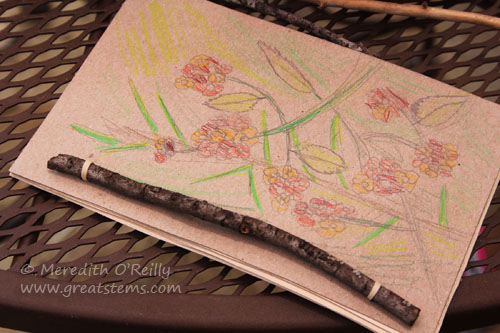
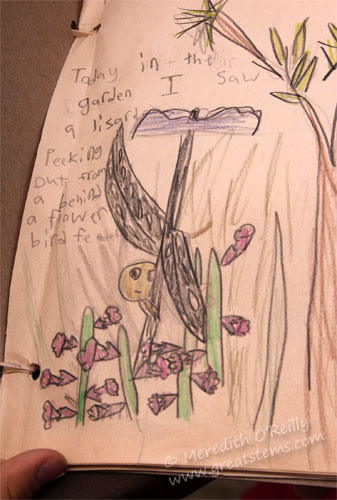
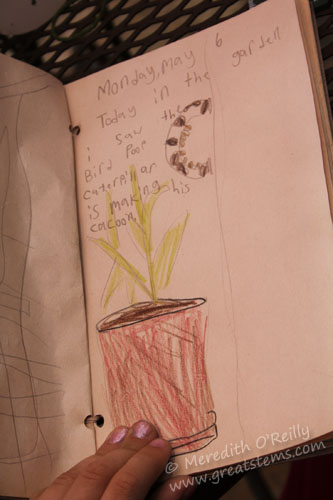
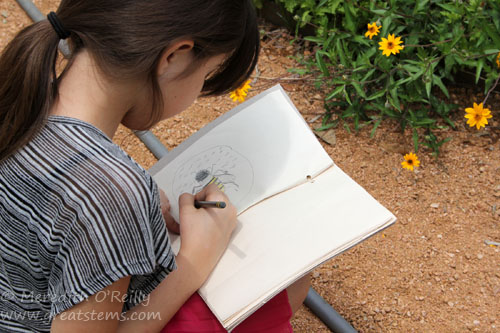
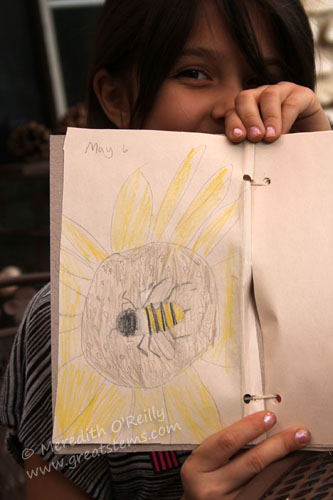
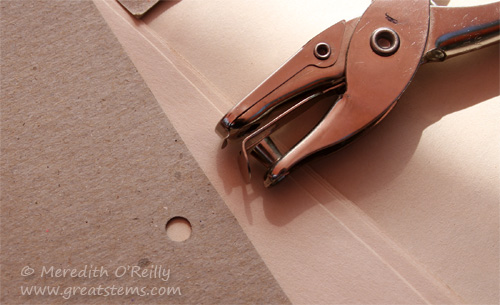
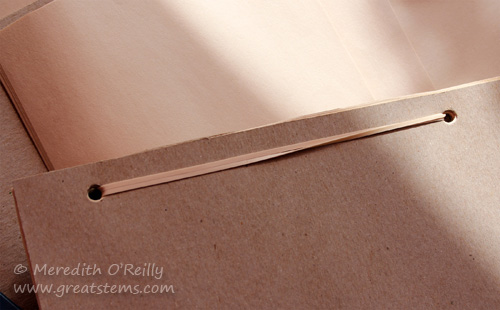
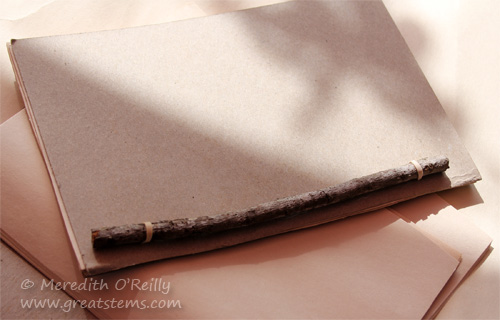
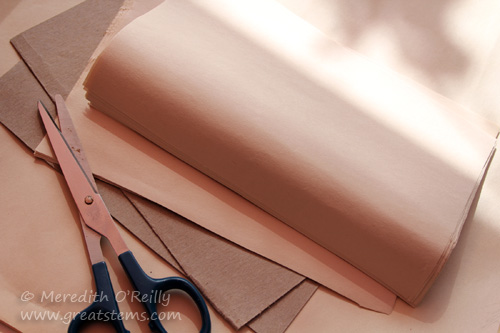 Start by cutting the cardboard and paper to the size you’d like the journal to be. If you need to, use a ruler and pencil to keep things straight.
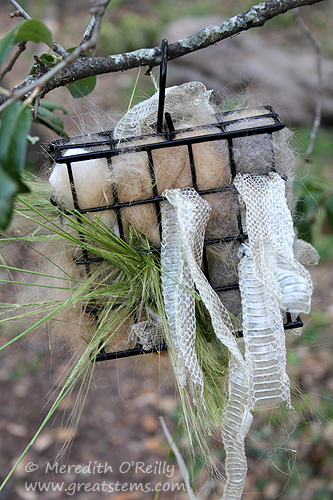
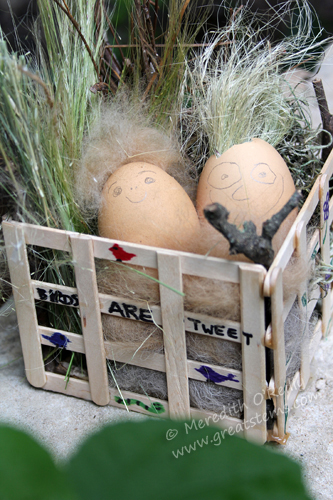 One final note — have fun!
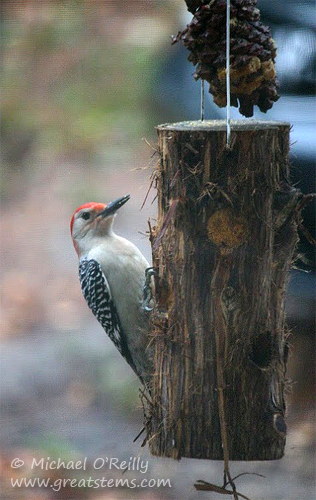
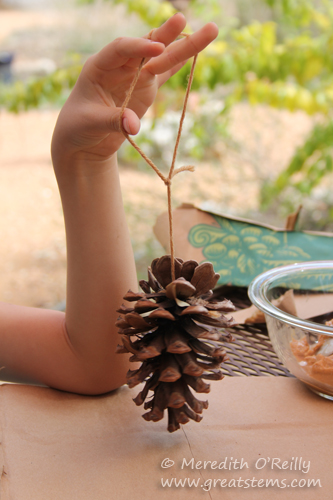
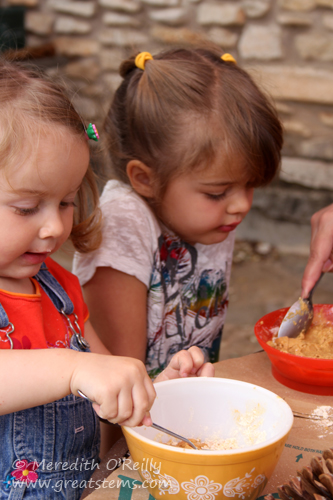
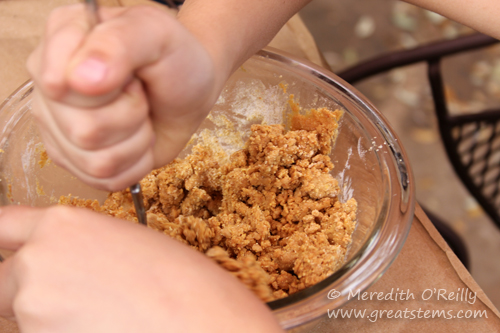
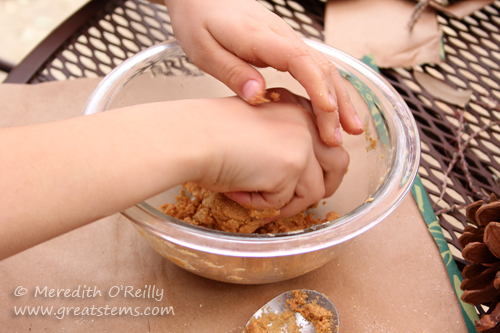
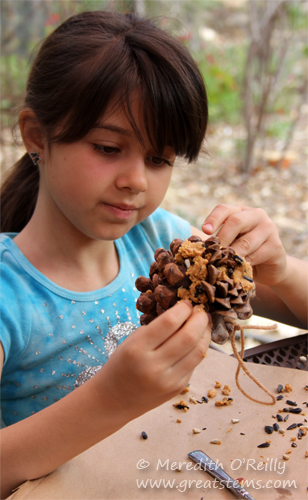
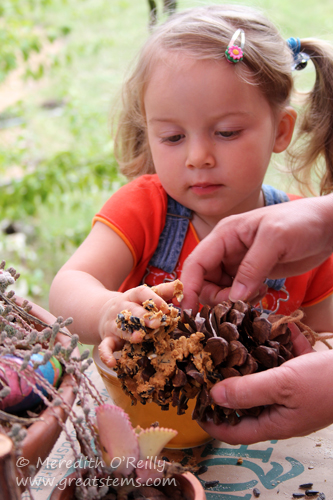
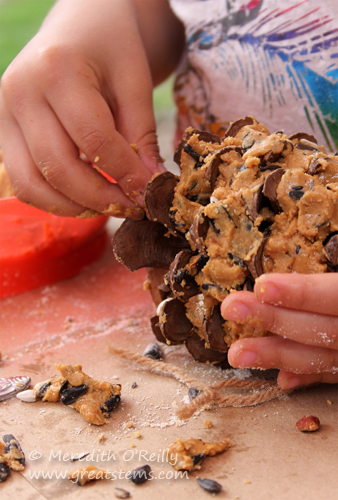 And that’s it! Hang your feeders outside a window so that you can watch the birds as they feast. It might take them a day or two to find the feeders. Don’t be surprised if a squirrel gets interested, too — but the squirrel might just show the birds where to find the pine cone!
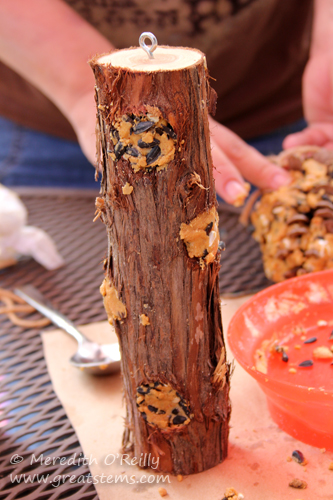 You can also cut one end off a large orange and remove the pulp (give it to the birds!), then create a bowl from the remaining rind by adding a hanging method and filling the rind bowl with the peanut butter mixture.