Don’t They Know It’s Winter?

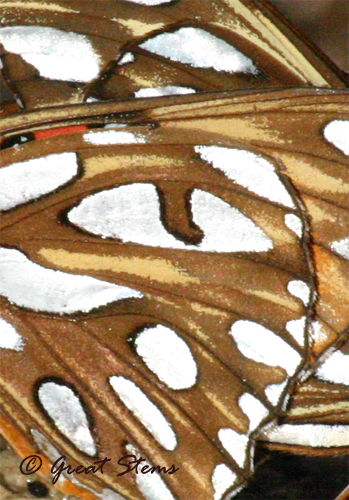
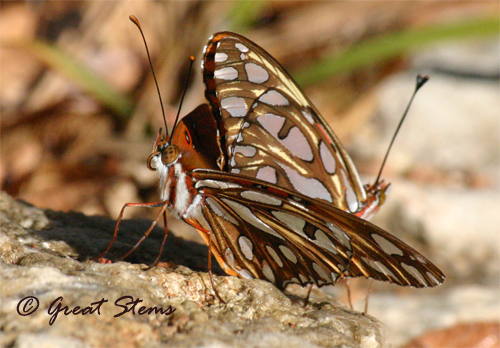
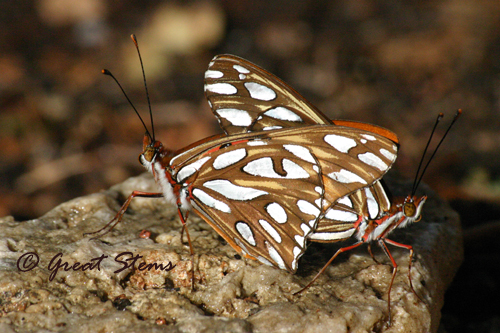
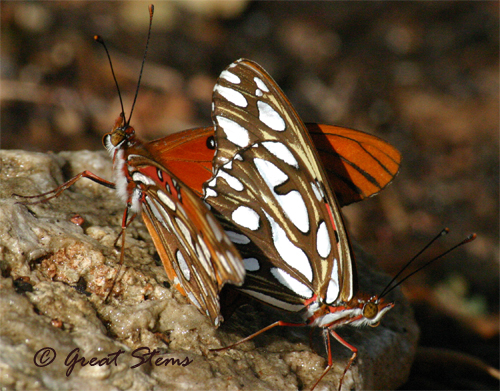
This is certainly the last thing I expected to see going on in my backyard in the middle of December, but go figure. Gulf Fritillaries, doing their thing.

 
gulffritf12-16-10.jpg

Sometimes the outer wings would open, revealing the brilliant orange of that butterfly’s upperside.

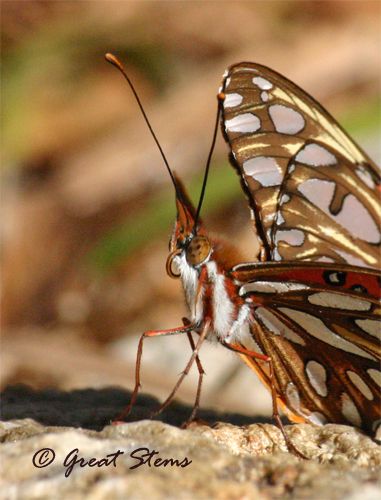
gulffritg12-16-10.jpgI wish the camera could have captured the full beauty of the metallic sheen on their underwings, but some of the lustre was lost in the image. Still, wow.

gulffritd12-16-10.jpg

gulffrita12-16-10.jpg
 The features on this butterfly give it such personality!

gulffritc12-16-10.jpg

I didn’t tell the butterflies that it’s just about winter here. They didn’t seem to care.

One Texas Alligator Lizard, Rescued

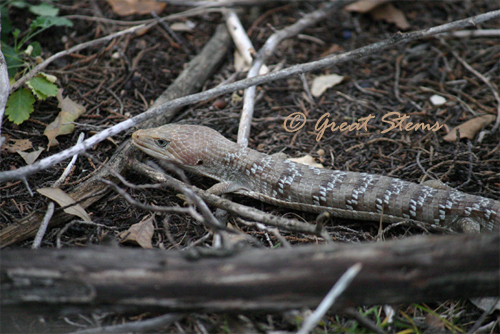
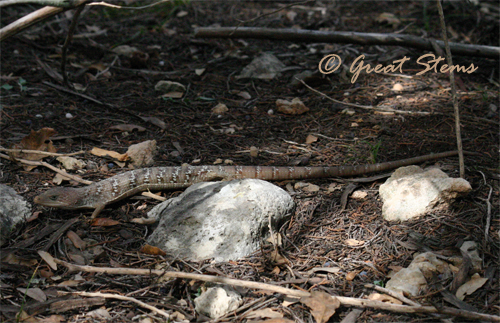
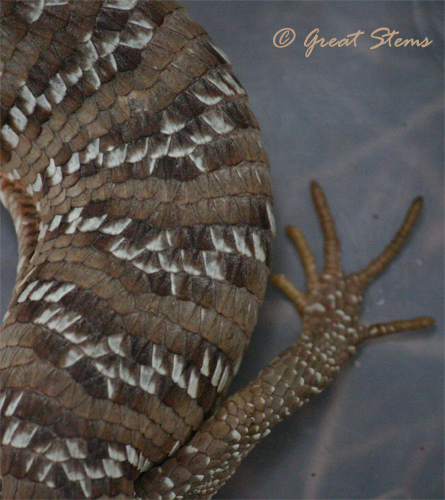
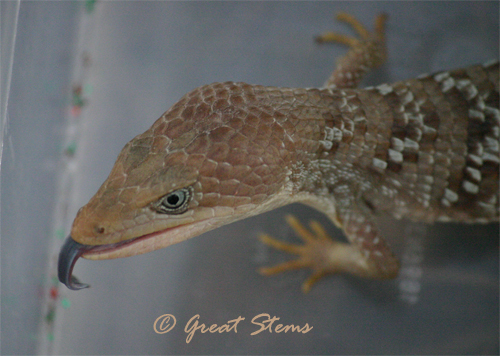
txalligatorlizarda12-11-10.jpgIts name implies something much more frightening — something along the lines of a Komodo dragon — but the Texas Alligator Lizard (Gerrhonotus infernalis) only reaches about 2 feet long at its maximum. Even so, it’s the largest native lizard in Texas, and it’s one of the largest alligator lizards period. This one is about 14 inches long.

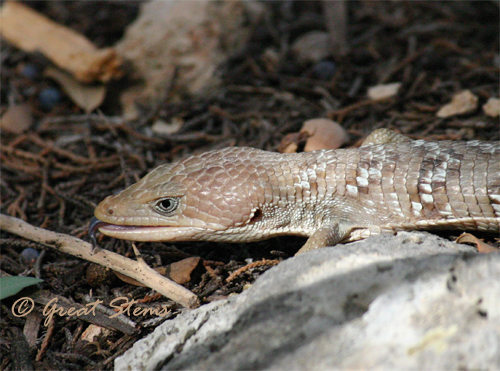
txalligatorlizardb12-11-10.jpgThe lizard happened to be spotted during a native plant rescue at a construction site near Lake Travis — a lovely habitat that will sadly succumb to development soon, becoming a water treatment plant. Our local Native Plant Society and dedicated habitat volunteers organize plant rescues from such situations whenever possible — some plants are given back to the city for habitat restoration, and the rest go to the volunteers who dig them up. But today, plants weren’t all that were rescued — a City of Austin biologist will be bringing this lizard to a new home, I believe at the Balcones Preserve. It only seemed right — its original habitat is being destroyed.

txalligatorlizardc12-11-10.jpgThe Texas Alligator Lizard likes rocky hillsides. It moves fairly slowly on its short little legs, making it relatively easy for the biologist to capture the one at the plant rescue. Its slow movement also made it easy for me take some, you know, 100 pictures (I’m not joking). You can see by this next expression that the lizard might possibly have been getting annoyed with my zealous image-snapping.

txalligatorlizardd12-11-10.jpg
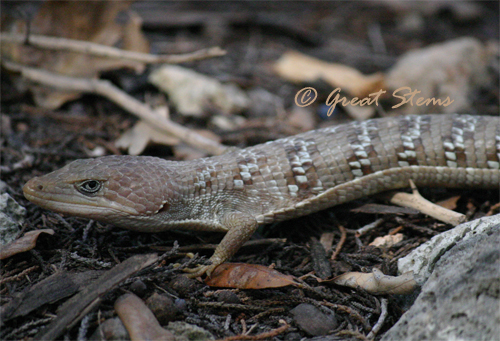
Though not the most colorful of lizards, it’s still handsome in its pale-scale armor.

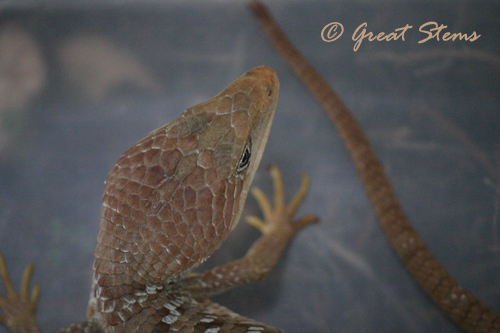
txalligatorlizarde12-11-10.jpgtxalligatorlizardg12-11-10.jpgIt has a blue, quick-to-flick tongue, and the neatest little digits.

txalligatorlizardf12-11-10.jpg

It breaks my heart to know that so many native plants and animal homes are going to be wiped out, but I’m grateful for all the plant volunteers and rescuers and happy that at least the lizard has a chance to survive.

As for me, I managed to rescue some Rusty Blackhaw Viburnums, Silk Tassel, Yellow Passionflower, and Flameleaf Sumac. The soil was incredibly rocky, making it difficult to get plants out without damage to the roots. We’ll see what survives — at least everything is in the ground, watered, and treated with seaweed! I’m particularly excited about the Flameleaf Sumac — I very much admire its fall colors.

We have a big cold front coming through, so I’ve begun the usual massive watering process. I also planted more than two flats worth of 4-inch plants I still hadn’t planted since I bought them in October (all my gardening has been at the school lately). I figure the little plants have a better chance of surviving in the ground than being stuck in my garage, where they would both freeze and suffer from my neglectful watering. In all I planted close to 60 plants this afternoon and evening, including the ones I rescued. What a day — plants rescued, plants planted, lizard saved. I hope you like your new home, little big lizard.
  

Making Plantable Ornaments or Cards

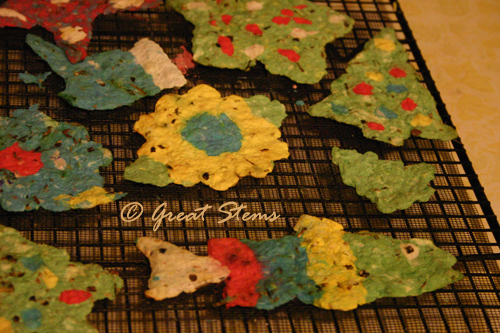
One of the projects we’ve been working on at home and with kids at school is making plantable ornaments or cards from recycled paper. Here’s a quick and easy way to do this at home. This is a very fun project for both kids and grown-ups!

pulpornamentf12-09-10.jpgMaterials needed:

  • recycled paper in a variety of colors
  • water
  • blender
  • native wildflower or perennial seeds (because we missed the fall planting season for Texas wildflower seeds, we used perennial seeds that could be planted in spring — whatever you use, don’t pick something that will germinate the moment it touches water!)
  • cookie rack or sturdy grid that will allow water to drain through
  • basin in which the cookie rack fits
  • paper-sized piece of window screen
  • cookie cutters
  • piece of damp felt larger than your largest cookie cutter
  • sponge

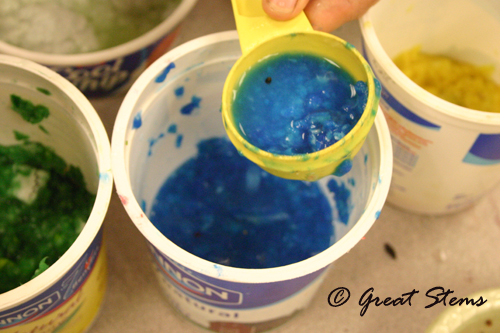
Tear the paper into bits, separated by color. Add a cup or so of paper bits into the blender and cover with water. Soak for a little bit, then blend. Add more water or paper as appropriate until you have the amount of pulp you want and the pulp is fairly free of chunks. I found it helpful to add a little white paper in with the colors to extend the available colors — we had far more white available than color; plus, the bits of white give a neat effect to the colors when they are visible.

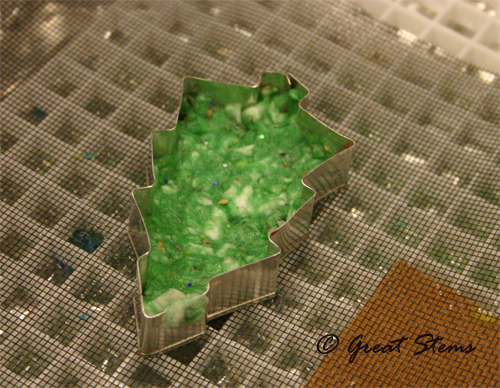
pulpornamenta12-09-10.jpgOur ornaments needed about 1/4 cup pulp, so we scooped the color we wanted and then added 1/4 to 1/3 teaspoon seeds.

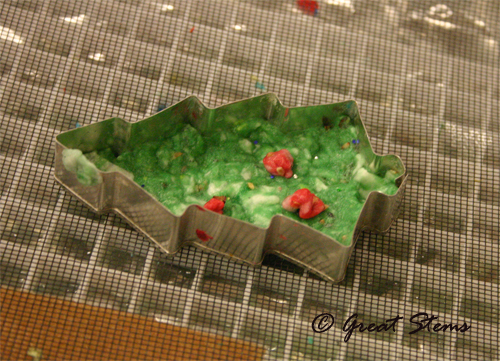
We placed the screen onto the cookie rack and set the rack in the basin. Next we spread the pulp/seed mixture into a cookie cutter, making sure that pulp filled all the corners and edges. The goal here is to use just enough pulp to make a thin ornament — the thicker it is, the longer it takes to dry (and then you might sprout flowers seedlings!).

pulpornamentb12-09-10.jpg

If you like, add other colors to embellish the ornament.

pulpornamentc12-09-10.jpgOnce you’ve filled the cookie cutter, gently lift the cookie cutter, pressing the pulp down simultaneously to encourage it to remain on the screen.

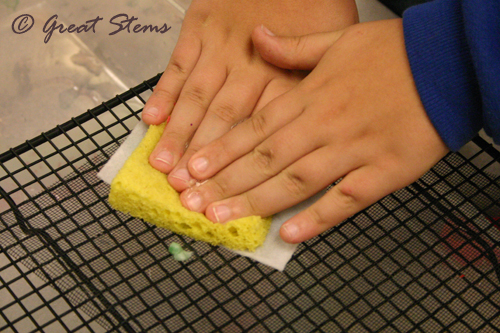
Next, take a damp piece of felt and lay it over the ornament. Press down on the felt with the sponge to push out the water from the ornament. Periodically squeeze the sponge off to the side to remove excess water.

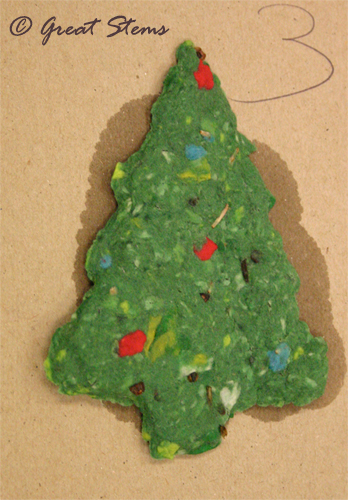
pulpornamentd12-09-10.jpgRemove the sponge and felt — the ornament will be easy to transfer to another rack or screen for drying. Voila!

pulpornamente12-09-10.jpgYou can use the same process to make a card, with the “ornament” attached to a background piece of paper.

Lizard, Snake, Dragon, Tree

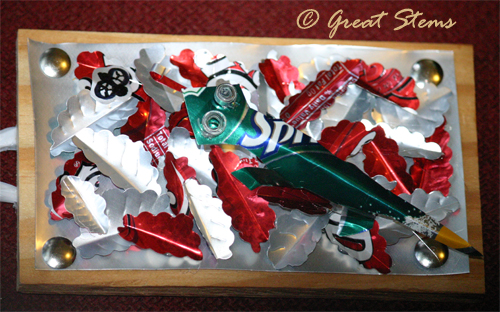
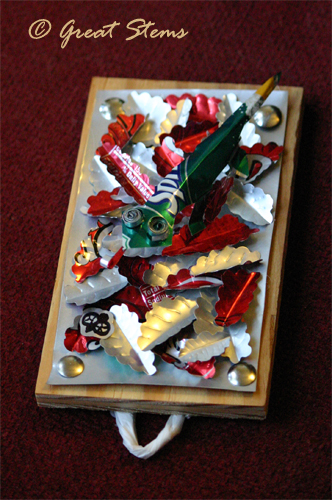
In the previous post, I showed different craft ideas using aluminum cans. I can’t resist showing a few more pictures of items the kids and I made. Aluminum is so very fun to work with, and it is very inspiring — there’s always more we want to try. Here’s a lizard…

aluminumlizard12-08-10.jpg
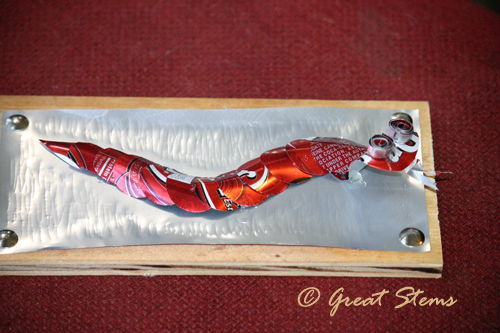
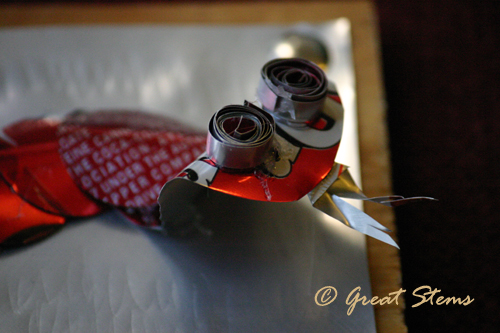
aluminumlizardb12-08-10.jpgAnd a snake…

aluminumsnakea12-08-10.jpg

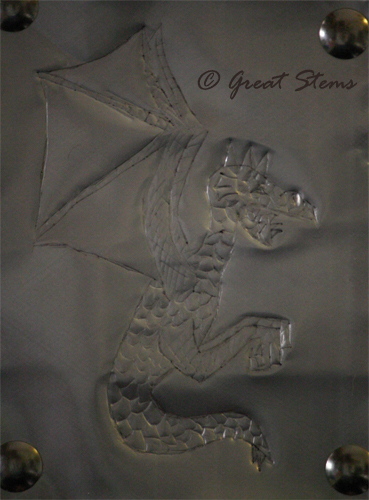
aluminumsnakeb12-08-10.jpgA dragon embossed in silver…

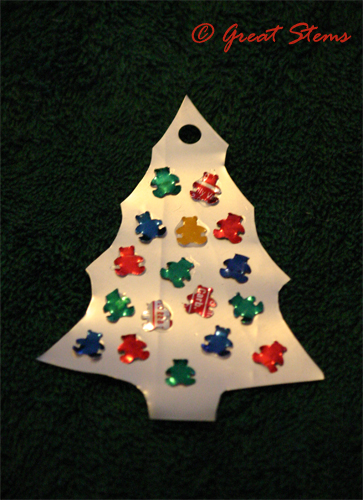
aluminumdragon12-08-10.jpgAnd a gummy-bear tree.

aluminumtree12-08-10.jpgAluminum can be used to make neat gift tags, too!

Aluminum Can Flowers and Leaves

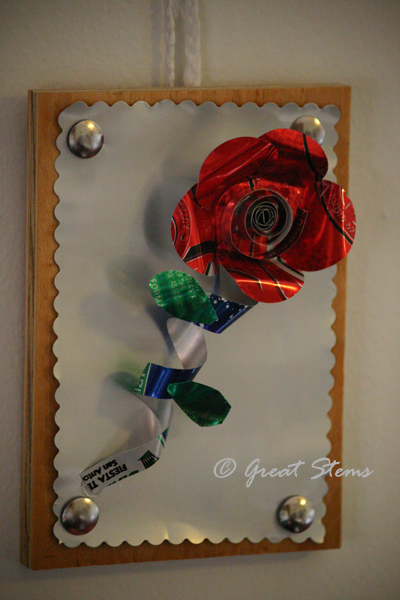
Are your flowers all gone until spring? Can’t get flowers to grow at all? Try making some of these colorful recycled creations — and since they are made from aluminum cans, they’re guaranteed to stay pretty for a long, long, long time (just don’t step on them).

We’re doing a craft activity at school tomorrow, helping kids make holiday gifts out of recycled materials. I’ve been testing the process — seeing what kinds of simple things the kids can make with aluminum (we’re doing other crafts, too). These flowers, wreaths, and ornaments are super easy to make, and for the younger kids, we can simplify the steps even more. Though I didn’t take pictures of my methods along the way, I’m including how-to-instructions below.
aluminumflowera12-07-10.jpg

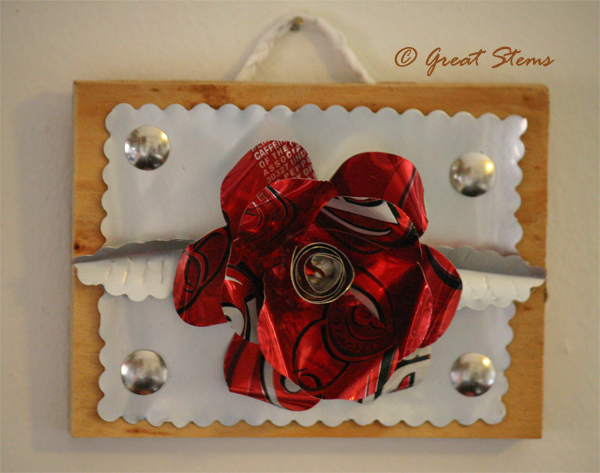
The above flower was made with six heart-shaped cut-outs, a thumbtack pinning them in the middle, a thin strip coiled and glued in the center, an aluminum can background cut with scalloped scissors, and a piece of scrap wood from our garage. Once you’ve pinned the hearts together, spread them like a deck of cards and gently work them upward to get the flower shape (also, slightly bend the petal tips back for added effect). The hanger is braided strips from a grocery shopping bag, hot-glued to the back of the wood. 

Aluminum cans are easy to cut with scissors, believe it or not. Make a small hole with the scissors, then cut the top and bottom of the can off. A single slice down the side reveals a nice rectangle to work with. To take away the curl, just lightly drag the rectangle along a table edge in the opposite way of the curl.

Materials needed for these projects:

Aluminum cans
Scissors

Glue (tacky or hot-glue)
Something to put your artwork on, such as magnets, craft sticks, scrap wood, old CDs
String, twine, strips of shopping bags, raffia, or yarn (or even paper-clips, for hanging purposes)
Old ballpoint pen without ink

Also useful:
Thumbtacks
(depending on the project)
Die-cut punches (I used a 1-inch circle shape and medium-sized heart shape — found at craft stores)
Scalloped-edged scissors or similar
Hole punches
Ruler
(for making quick, straight folds)
Toothpicks, pencils, or other objects to coil foil around

I did have to purchase the thumbtacks, but everything else I had on hand. You don’t have to use die-cut punches but it is soooo fast and works on aluminum very well — it’s nice when you need lots of consistent shapes. Alternatively, create a template on some thin cardboard and trace the outline repeatedly onto the aluminum, then cut the shapes out by hand. I also now have some purchased magnets, so the kids and I will probably have some fun with those.  
aluminumflowerb12-07-10.jpg

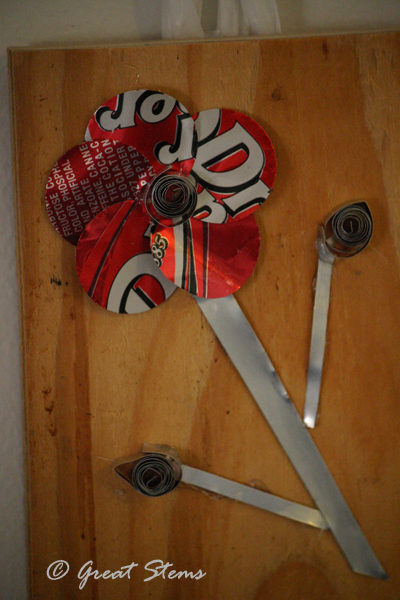
This flower was made with five one-inch circles glued to a sixth circle “base.” To get the 3-D effect, simply gently bend the petals upward and give them a slight backward bend at the top of the petal. Coil a strip for the stem and another for the flower center, and make some simple leaves. 

Keep in mind that any of these flowers can easily be used to make a magnet, planter garden (on craft sticks, etc.), or a bouquet. There is also a large variety of can colors out there — you can modify your design to make sunflowers, mums, etc. I intend to experiment with this, too, but I didn’t have any other colors on hand.

Here is a very simple flower, something the younger kids might have an easier time with.
aluminumflowerc12-07-10.jpg

The petals are 1-inch circles, and the stem is made of strips. The petals can be glued flat, and kids can either cut out leaf shapes or make the coiled ones shown in the picture. To make the quilled leaves, cut a thin strip of aluminum and coil it tightly (perhaps around a toothpick), giving a gentle pinch at one end. You can also make entire flowers from quilling strips of foil.  

Ornaments are super easy to make and very satisfying. They look great on a tree with lights and have the bonus of being “double-sided.” 
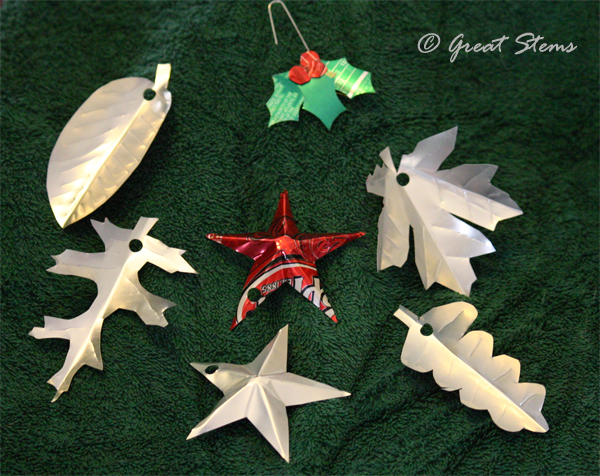
aluminumornaments12-07-10.jpgTo make the leaf ornaments, simply trace a leaf shape onto the aluminum and cut it out (creating a cardboard template is great for repeated uses). To create a fold, press a ruler over half the leaf shape, along the midline, then gentle fold up the uncovered side. Use a non-working ballpoint pen to create the veins — voila, easy but very effective texture. You can also use scalloped scissors to give additional leaf effects (see wreath below). The star ornament is just a basic star cut-out; the 3-D effect is made with straight folds from every point, with gentle pinching to guide the shape as shown. The holly ornament is made from simple cut-outs of hand-drawn leaves and berries; it’s glued to a paper clip.


The leaves can be used to make a beautiful wreath, glued to an old CD.
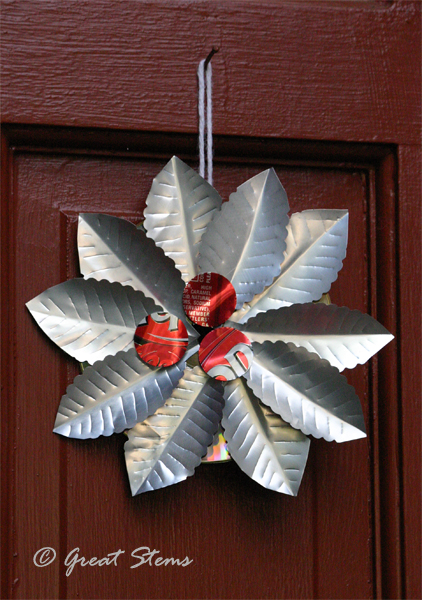
aluminumleaveswreath12-07-10.jpgYou can see the scalloped edges on the leaves here — what a difference it makes — very much like leaves found in nature. A hot-glue gun made this a fast craft, but tacky glue should work fine. The CD is used silver-side up.

My boys are doing aluminum can crafts of their own, from ornaments to dragons to snakes. I hope to be able to share photos. And today I’m working on plantable seed ornaments made from recycled paper, working to make the process kid-friendly and easy. Stay tuned for more earth-friendly holiday projects!
Pretty in Red

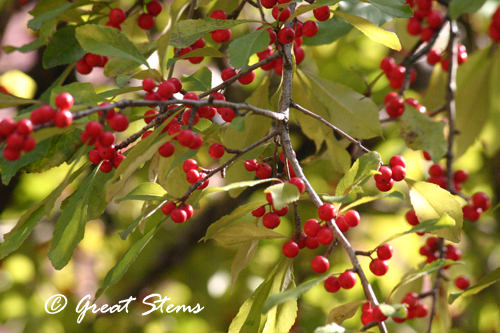
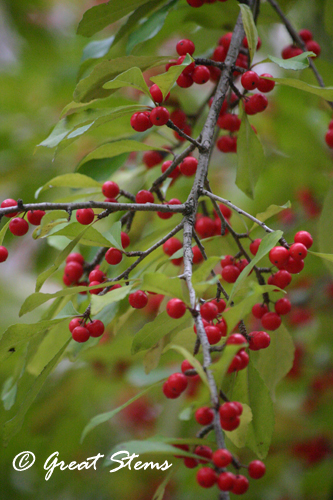
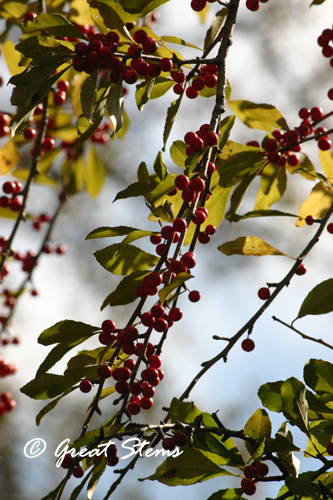
yauponc12-03-10.jpgI want to ask, “Is it just me or are these the reddest Yaupon berries we’ve ever had?” but I suppose no one reading this post can answer that — not even my husband, and he lives here. But wow — don’t they just pop with vibrant color?

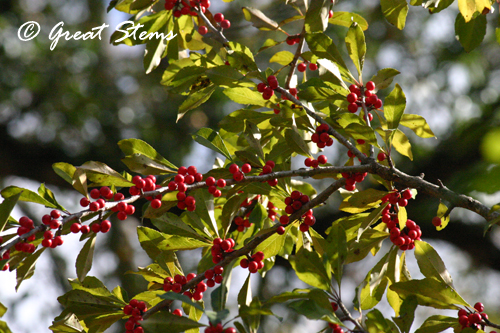
yauponb12-03-10.jpgI think this tree must have had as much fun as I did with the Cedar Waxwings last February — it’s clearly ready for them to come again.
yaupona12-03-10.jpg

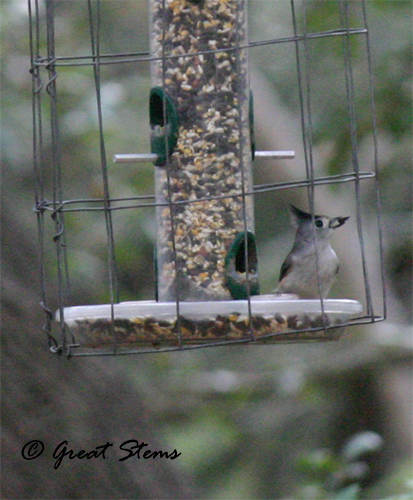
yaupond12-03-10.jpgWe interrupt this post to show you this adorable Black-Crested Titmouse, seed in beak. These cute little birds don’t like to sit still for pictures, so I’m amazed I got one. Oh my gosh, so cute.
 
titmouse12-03-10.jpg

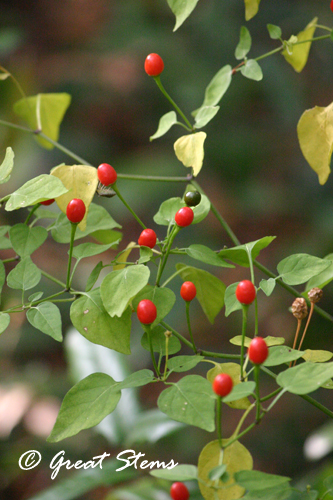
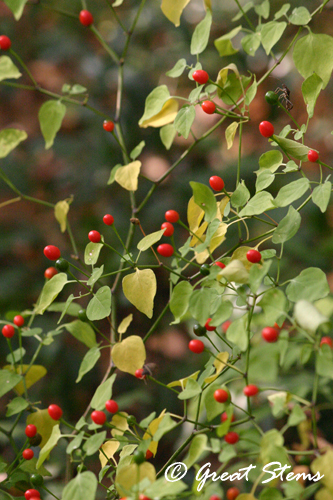
I’ve been eagerly waiting for the little peppers of the Chile Pequins to turn red, and at long last they have.
The few green peppers combined with the red is a very holiday-festive combination.

chilepequina12-03-10.jpgOne of these days I’m going to pop one of these little peppers in my mouth to see what happens.

chilepequinb12-03-10.jpgWell, maybe I’ll dare my husband to do it instead…

Edit: I told my oldest son that Chile Pequin peppers are 7-8 times hotter than a Jalapeño, and he decided right away that he wants to try one. Guess I won’t have to dare my hubbie after all! I plan to have camera and lots of water on hand…

History Lesson, Part II — Pokeweed Ink

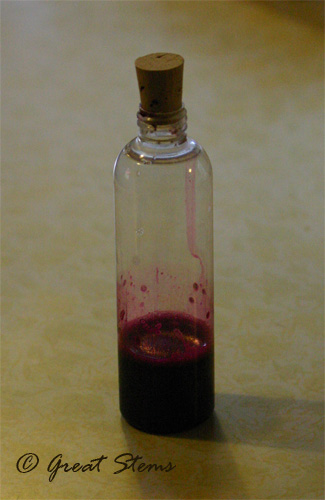
A couple of months ago, my son and I had great fun making Pokeweed Ink from the pretty but toxic Pokeweed plant. We made the ink and let it ferment in a dark cabinet and then promptly forgot about it.

pokeweedinkd09-13-10.jpgBut making the ink proved to be fortuitous, as recently my son was given a Social Studies research project at school — of all the colonies, he ended up with Pennsylvania, the state in which both the Declaration of Independence and the Constitution were written. The rumors around the Internet were that these documents were written in Pokeweed Ink. (Edit: These proved to be inaccurate, however — thanks to Dana R., we know from the National Archives that iron gall ink was actually used. Iron gall ink was the ink of choice for many, many centuries — I’m going to have to experiment again!)

pokeweedinka11-28-10.jpgMy son’s been working hard on his report and presentation on the Pennsylvania colony, and we remembered that we had that bottle of pokeweed ink, which luckily was still in good shape — apparently it fermented well (in fact, it smelled like either really old grape juice or very, very cheap wine). Whether a historically accurate ink or not, he could use it to create a document of his own.

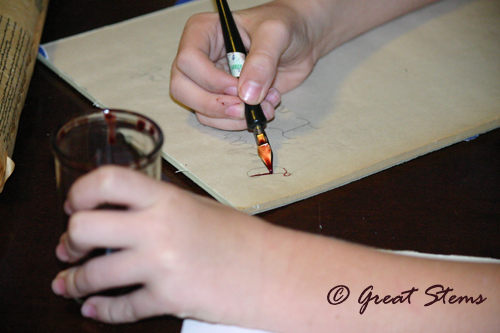
pokeweedinkb11-28-10.jpgSo today we had fun practicing calligraphy with both modern pens and with pen nibs dipped in the pokeweed ink. It’s a lot harder than it looks, using a nib dipped in ink — a modern calligraphy pen is so much easier, alas. But it’s not as cool as using ink the old-fashioned way! However, for this particular project, we realized that doing any fancy writing wasn’t really going to work, so my son stuck with cursive writing.
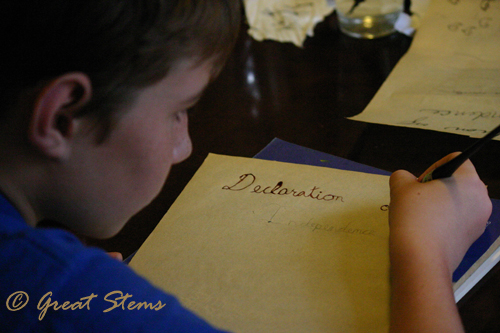
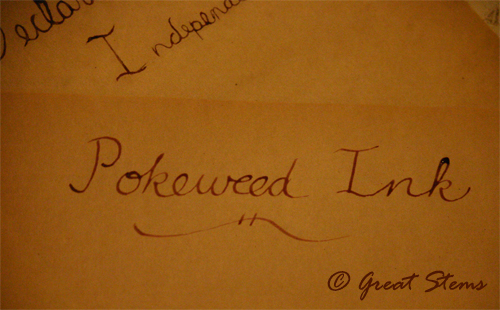
pokeweedinkc11-28-10.jpgMy son prepared a sample Declaration for his presentation. He also took the bottle of ink with him to school. Science, history, art, fun!

pokeweedinkd11-28-10.jpg

What’s pretty neat, too, is that as the ink dries, the color darkens from the reddish look in the “Pokeweed Ink” text above to the darker in shown in the writing in the corner. Nifty, nifty! 

An Autumn Hike Through Walnut Creek Park

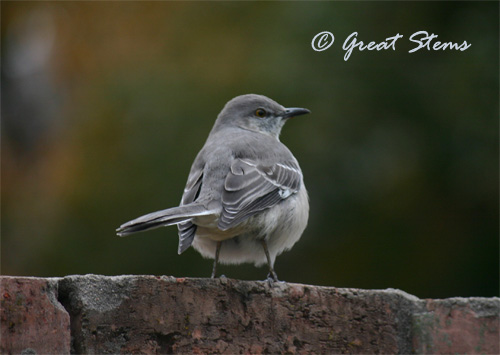
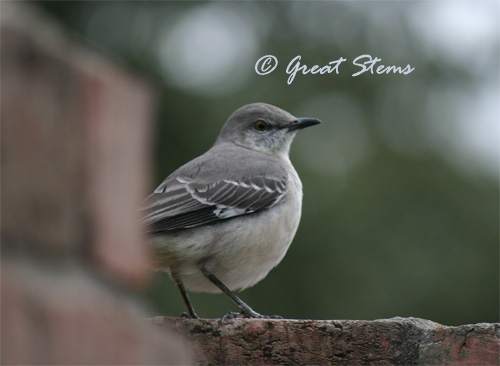
We regularly join up with friends of ours to take a weekend hike with our wolf pack (five dogs between us) and all our kids (as of this week, five kids between us — congrats, Stepan and Jen and family on your new baby!). Last weekend, a few days before baby came, we ventured to our very favorite Walnut Creek Park, a 300-acre wooded habitat in north Austin. A mockingbird greeted us along the way.

mockingbirda11-14-10.jpg
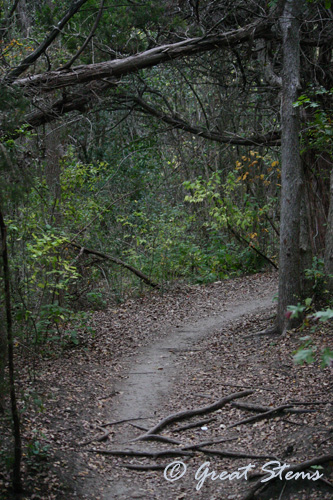
mockingbirdb11-14-10.jpgNot only is Walnut Creek Park beautiful in all seasons, it’s a leash-free zone, which means that all our dogs except our obnoxious husky get to run free (the husky gets to hike but must be attached to a human at all times). It’s also a great place for beginning to advanced mountain bikers, being covered in a maze of criss-crossing trails and creeks. In fact, there are so many trails that it’s easy to get somewhat lost if you are new to the park. Fortunately, there are usually plenty of visitors to point you in the direction you need to go.

walnutcreekd11-14-10.jpgOh, and it’s a great place to break your arm, as two of the four people in my family have done, along with countless mountain bikers at the park, I’m sure. At least there’s a hospital close by, if you do manage to get hurt.  🙂

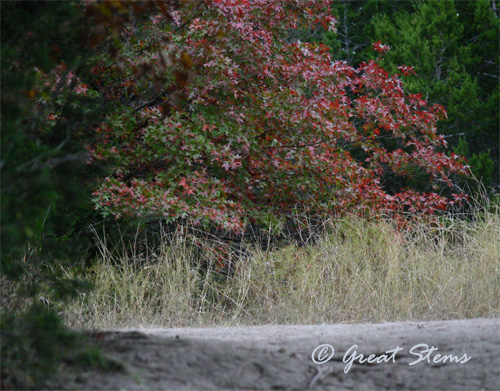
Right now, it’s autumn at its finest at Walnut Creek.

walnutcreeka11-14-10.jpg

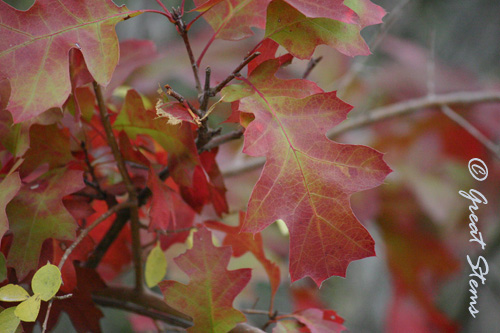
All around, the leaves of Red Oaks and other decidious trees are turning red among the evergreens.

redoak11-14-10.jpg
I’ll admit that I was a bit slower than usual on the hike — there were a lot of other natural beauties that I just had to capture a picture of.

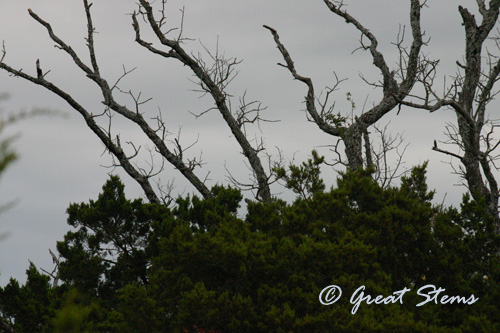
Along one trail, the branches of dead snags poked out among younger Ashe Junipers and created an ominous effect. I so wanted a group of vultures to fly down and let me take their picture.

walnutcreekb11-14-10.jpg

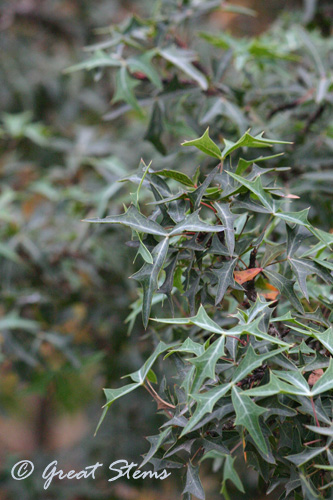
Agaritas could be found among the understory plants. This sharp-leaved shrub offers protection to young fauna, earning it the nickname, “Babysitter Bush.”

agarita11-14-10.jpg
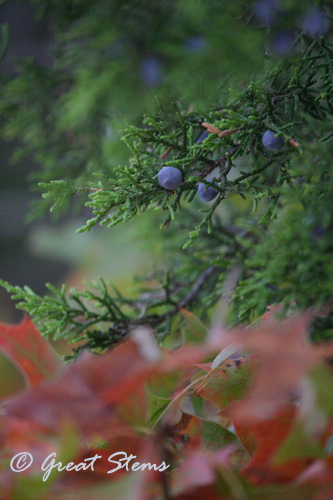
The beautiful blue berries of the evergreen Ashe Juniper made a striking color combination with Red Oak leaves. The berries are a favorite of local birds.

ashejuniper11-14-10.jpg

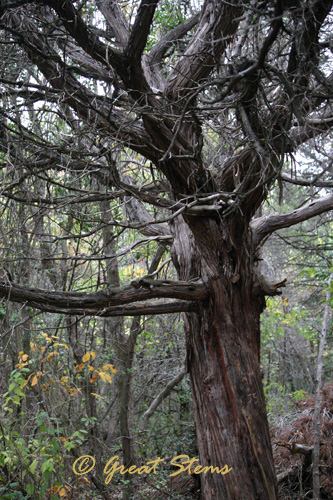
I also love the exfoliated bark of old Ashe Juniper trees, as do birds for their nests (me, I just enjoy cool-looking bark). For more information on the wildlife value of Ashe Junipers, please enjoy a read of my most recent post at Beautiful Wildlife Garden.

ashejunipertrunkb11-14-10.jpg
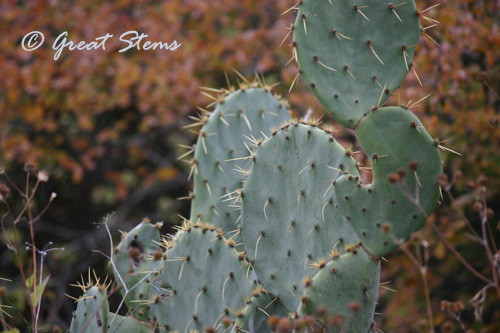
The spiny Prickly Pear had a soft green look against the autumn foliage.

cactusb11-14-10.jpg

And the petal-less remains of spent flowers made dried-flower bouquets along pathways.

deadhead11-14-10.jpg

deadheadb11-14-10.jpg
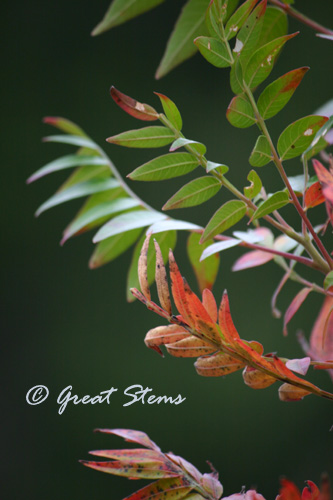
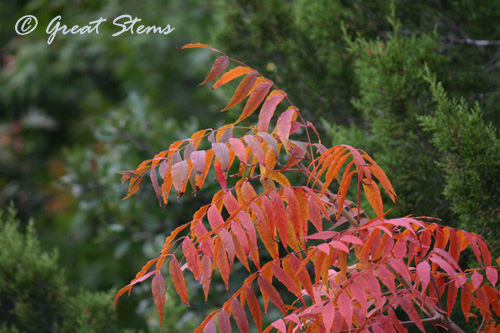
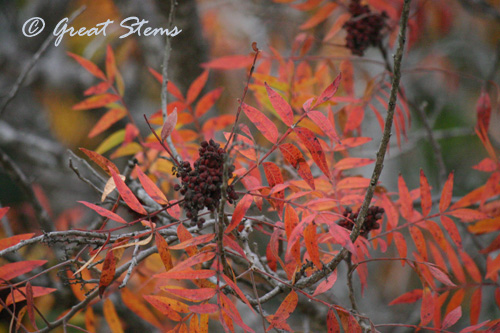
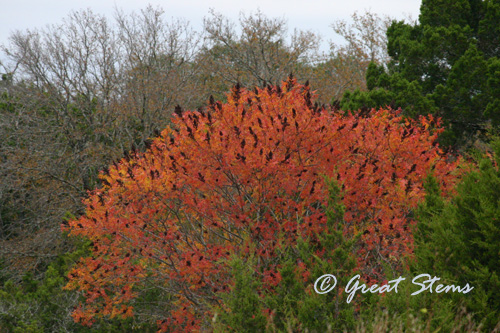
All around the woods, Flameleaf Sumac was changing from green to red foliage.

flamesumac11-14-10.jpg

Its bright-red fall foliage proves that Flameleaf Sumac is very aptly named.

flamesumacb11-14-10.jpg

Will this be the year I give in and plant Flameleaf Sumac? I’ve been hesitant in the past, because I know it can make a thicket — but maybe it will be the key to preventing my neighbors’ nandinas and chinaberries from taking hold in my yard again. Plus the sumac berries are high in Vitamin C — might be worth a try! You know, I think I just convinced myself… if I can find it available at a local nursery.

flamesumacc11-14-10.jpg

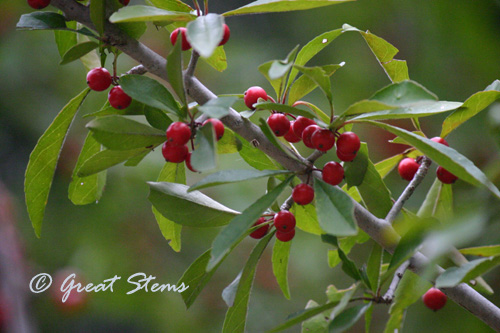
flamesumacd11-14-10.jpgThe hollies were showing off their red berries, Yaupons and Possumhaws alike.

holly11-14-10.jpg

If there’s a downside to the park, other than the breaking of arms, it’s that there’s quite a lot of poison ivy around — vines and bushes alike. There unfortunately is also a serious invasion of invasives, such as evergreen Ligustrums, all the more noticeable in the fall. I tried to do my best to ignore them on our hike, but I pretty much failed, as they were everywhere. I’ll take poison ivy over Ligustrums any day, as long as I don’t have to roll in it. 

poisonivy11-14-10.jpg

And here’s one of our favorite areas of all — Walnut Creek itself. We call this particular spot along the creek “Broken Arm Crossing” because it’s where I broke my arm on one fateful dog walk. I hold the area no ill grudge, as it is such great gathering spot for water-loving doggies. The other spot in the park where my husband broke his arm during a bike ride is now nicknamed “Michael’s Folly,” or “Michael’s Fall-ee.”

rosie11-14-10.jpg

My oldest son was particularly fond of the colorful moss along a section of the creek.

walnutcreekmoss11-14-10.jpg

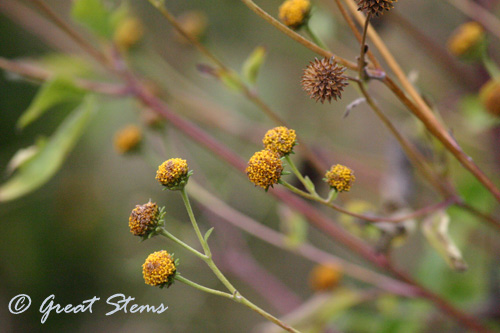
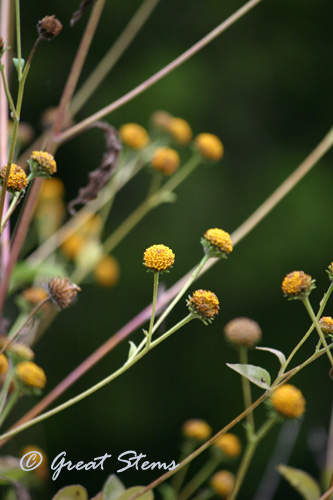
I don’t know what the name of these next plants are, but the seedheads made a gorgeous scene along a few prairie paths.

seedheadsb11-14-10.jpg

They might look soft, but don’t be fooled.

seedheadsa11-14-10.jpg

 And one of my favorites, Wafer Ash (Hop Tree) is in full seed mode, as well.

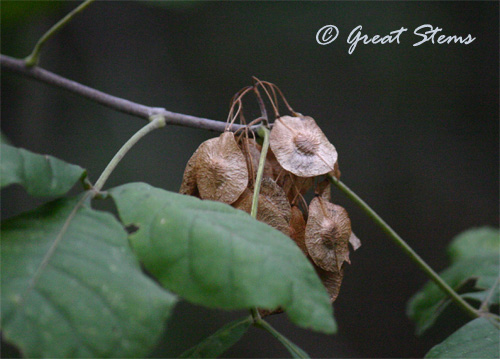
waferash11-14-10.jpgI looked everywhere on the Wafer Ash trees for Giant Swallowtail caterpillars, but alas not a bird poop-looking cat was to be found.

Oh well, it was a wonderful hike all the same. One can’t always find bird poop caterpillars, you know.

5,000 Gallons of Rainwater

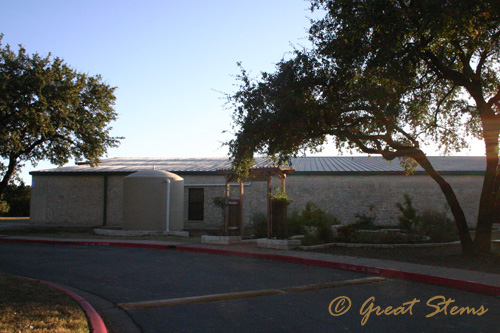
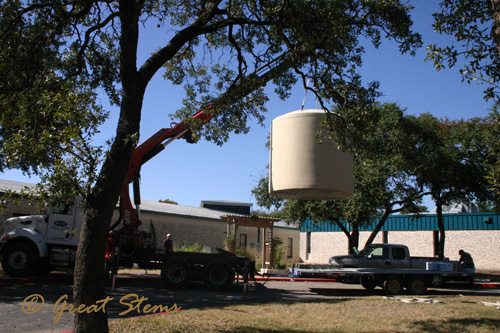
It’s been a very busy but exciting week at school. Our big 5,000-gallon rain tank was installed!

raintanka11-17-10.jpg

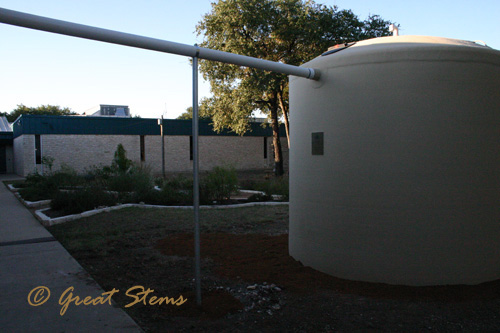
It will collect water off our big metal roof, and the water will be used to support our wildlife habitat.

raintankb11-17-10.jpgI was giddy, to say the least — this project has been in the works for several months now, and it was so rewarding to finally get to the big day. And lots of kids got to watch the process. I have to say that it was very cool to see that tank in the sky.

raintankc11-17-10.jpg

There’s still some landscaping and painting and whatnot to do, but the tank itself is completely installed. Now we just need rain!

Emergency Bug Hunt

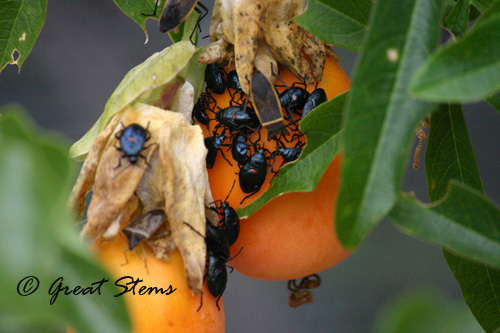
Ewwww…

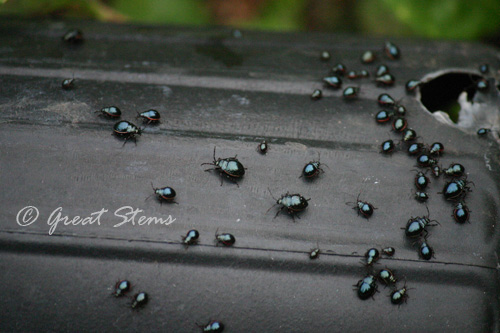
bughunta11-14-10.jpgA thousand times ewwww…

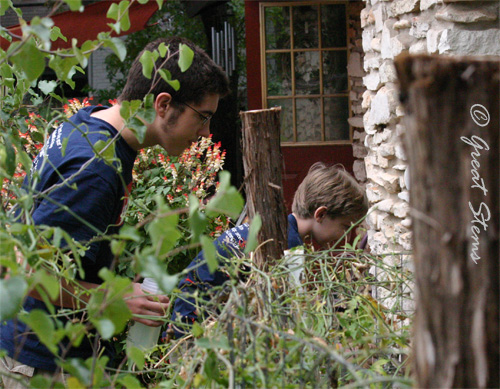
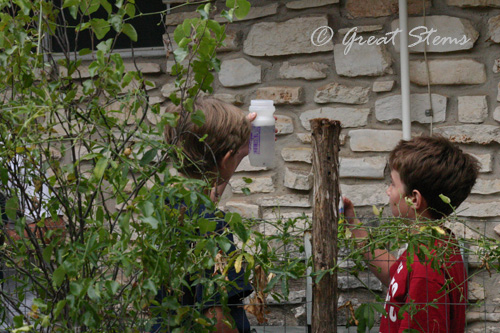
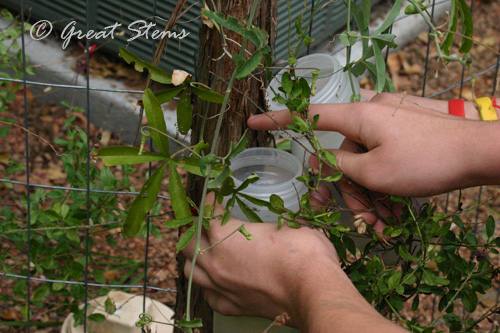
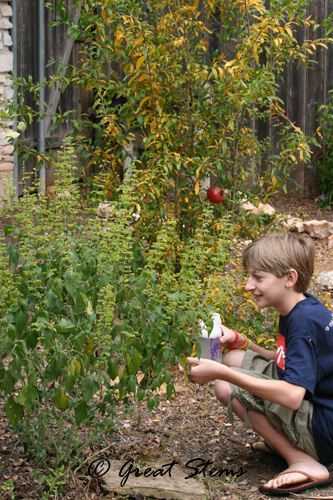
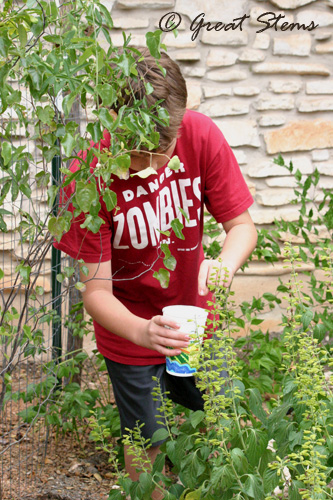
bughuntb11-14-10.jpgWhen you discover swarms of bugs in your garden and you need helpers to go after them, what better way to inspire a bunch of boys to go on the hunt than to offer video games of choice to the winner. Good thing we had a sleepover last night!

bughuntd11-14-10.jpgCups of soapy water in hand, the five of us lined up for a fall pest-bug version of an Easter Egg hunt.

bughunte11-14-10.jpgThe bugs were everywhere, and apparently many of my plants have been suffering, including Turk’s Cap, Passionflower, Salvias, and more.

bughuntf11-14-10.jpg
bughuntj11-14-10.jpg
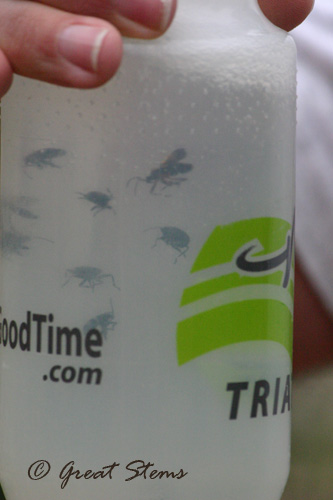
bughuntk11-14-10.jpgEntomologist Mike Quinn helped me out with the ID on the black bugs and the long bug with the orange outline. They are Largus bugs (Largus succinctus) in the Bordered Plant Bug family, in the same suborder as the Box Elder — the black bugs are the instars. And there’s a Brown Stink Bug in the mix. Good to finally know what these bugs are. Thank you very much, Mike! Reading more about them, they are not considered major pests, but the numbers in my garden are out of control, and the plants are clearly affected — so no guilt about the bug hunt here.

Look, a bug snow globe!

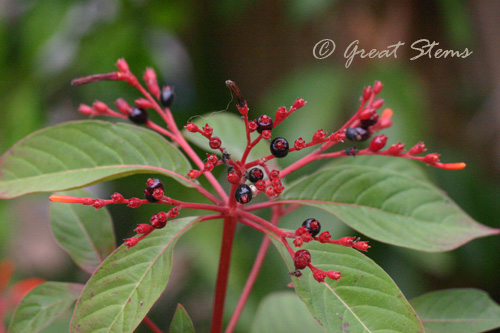
bughuntc11-14-10.jpgSometimes we were tricked by dark berries that looked like the pest bugs, like these berries on the Firebush and the berries on the Texas Lantana.

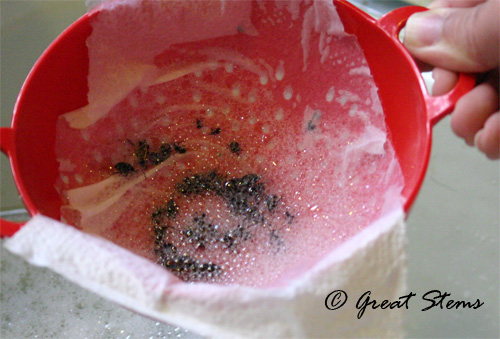
bughunth11-14-10.jpgWhen we all got too cold, we came inside to count our Easter eggs, I mean bugs. First we poured them into a paper-towel lined collander. Yum!

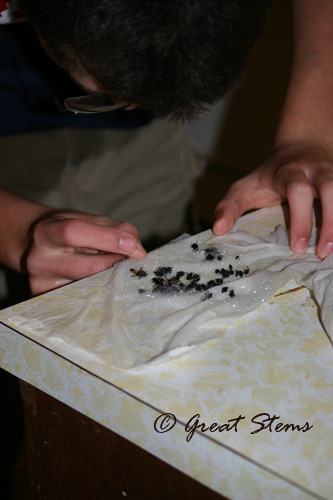
bughunti11-14-10.jpgAnd then counted them up.

bughuntg11-14-10.jpgAll in all, I think we caught some 200 bugs. We’ll do a round again later when it warms up. We were all winners and everyone got to play video games (well, except me, who got to do a blog post instead — yay!).

FYI, that chrysalis I intended to move after my last post is still in its precarious spot on the backdoor frame. I’m guarding it from the dogs, but I need some peace and quiet around here in order to perform such a delicate transplant!