Many of our flowering plants and crops depend on pollinators, especially native bees, in order to produce fruit and seed. An excellent project for helping native bees is to create places for them to nest. In the case of solitary mason bees, this might be a bee box made of wood, cardboard tubes, or even bamboo. For digging bees, a patch of open dirt is all it takes. As is often the case, these projects can be done with simple methods, but if you have access to power tools, you can take them to another level.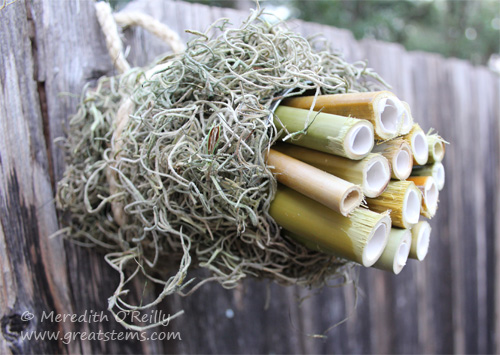
One idea is to place either cardboard nesting tubes (available for purchase online) or bamboo tubes inside a can. 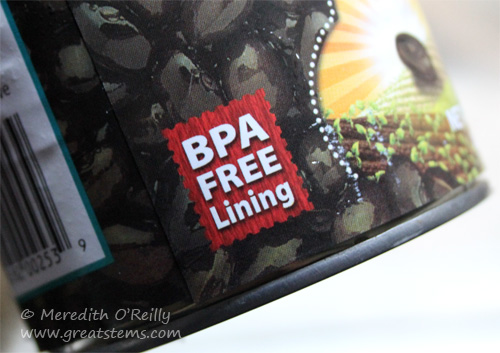
I recommend that you use cans with BPA-free lining if possible (Eden Organic, for example).
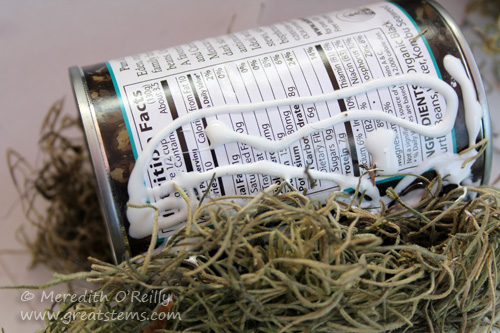
If you like, decorate the outside of the can. Spanish moss is one possibility. Be sure to use outdoor-appropriate non-toxic glue.
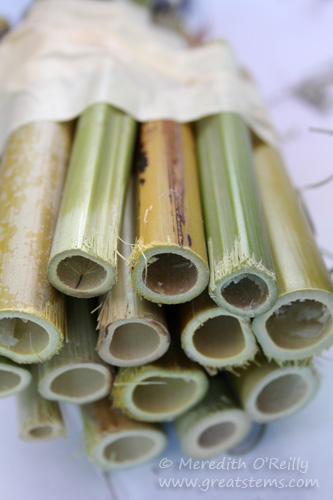
If using bamboo, cut it to lengths of about 6 inches. If possible, select tube portions that are approximately 5/16″ in diameter, or a little larger if you’d like to add a paper liner. This is mainly to provide tubes that are an ideal size for mason bees. A paper liner (see first picture above) can be made with parchment paper cut to about 3″ x 6″ and rolled tightly with a pencil — insert into the tube and draw the pencil carefully back out to let the liner expand to fit the tube.
In order to keep the tubes snugly together, I wrapped around them with masking tape. You can drizzle a little non-toxic glue between them if you like. I also used tape to create a sticky base inside the can. This keeps the tubes in place while letting them be easily removed and replaced as needed later.
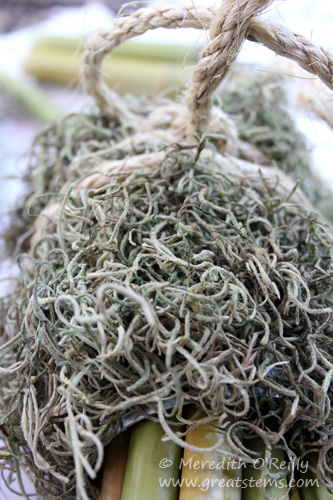
If you’d like to hang up your bee can, tie twine or rope around it. Or simply place it in a sunny spot in your garden where it won’t roll or be disturbed by pets or other animals.
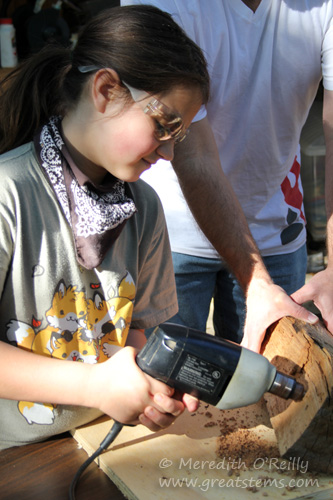
Another popular bee box project is to use a power drill to create holes in natural wood. Ideally, these holes would be about 6″ deep, but aim for at least 4″ if possible. The diameter should be 5/16″ — or use 3/8″ with paper liners as described above. The paper liners keep the wood from absorbing too much moisture, and because they are replaceable, they also help keep the holes clean long-term.
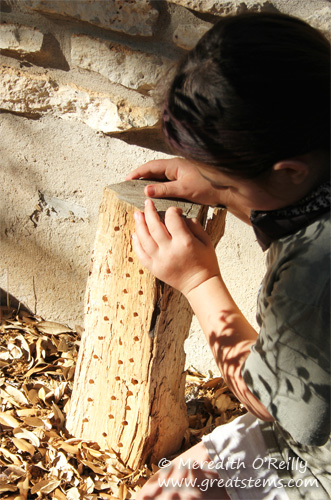
When you’ve drilled all the necessary holes, place the bee box in a warm, sunny spot. I’ve also found that particularly here in Texas some partial shade is helpful to keep the Death Star from baking the bees.
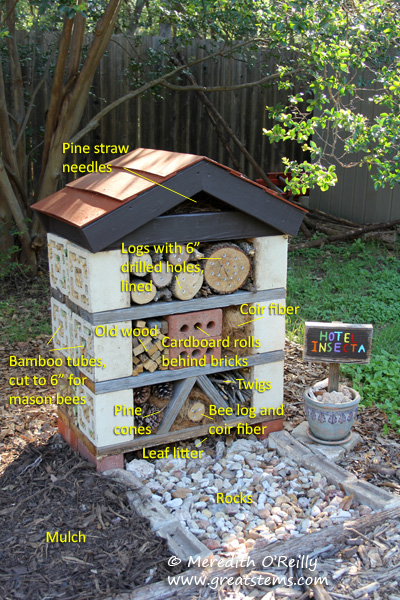 Of course, to really go all out, your bee boxes can become part of an entire insect hotel!
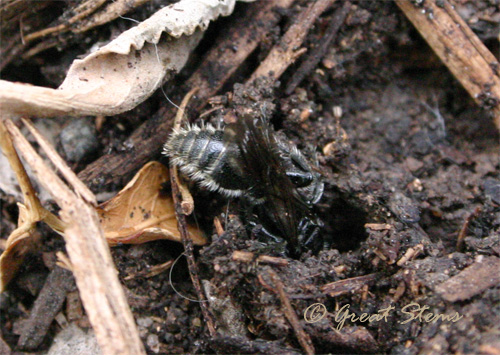 Be sure to include patches of open dirt elsewhere in your garden to let mining bees, or digger bees, lay their nests, too! Perhaps create a sign for your special “Bee Patch.”
Of course, it’s also important to provide in your garden native plants and shallow water sources for your bees and other pollinators. Keep your garden and yard pesticide-free, and encourage your neighbors to garden organically as well. Thanks for helping our hardworking pollinators!
To see other nature/wildlife projects for kids, click here.
What a nice group of projects for native pollinators. Once I knew what to look for, I’ve been amazed at how many native bees we have around the yard – I’d been wondering what those little, perfectly round holes were in the soil!
I wish I could identify them all, Cynthia — there are so many! I just take delight when I see new species I hadn’t noticed before.
What a great kids’ project! Now if I can just figure out where to get some bamboo . . .
What a fun project, Meredith. Thanks for sharing.
What a great idea. Maybe that would keep them out of the weep holes in my house too.
It’s so rewarding when you realize bees are using the houses you make, too, Marti.